
DATE: 09-11-2025 – TIME: 12:48 – 4:52 ~ 4:00
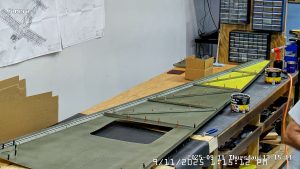
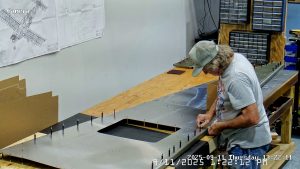
Today was about finishing off the assembly of the bottom fuselage (floor) skin and associated components.
I began by dimpling the A3 holes around the nutplates, the nutplate rivet holes and then squeezing the AN426AD3-3.5 rivets to hold them in place. None of that took very long and it looks a lot better than if I had used A3 rivets. Unfortunately, my cameras were not running so I don’t have any pics of the process itself, just the finished product.
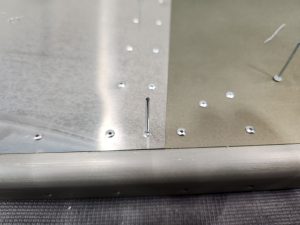
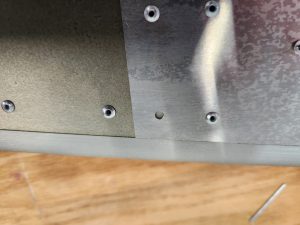
After that I drilled out the extra hole in the area where the forward skin, LS75F1-1, overlaps the rear skin, LS75F1-2, through the left and right longerons and then riveted them with an A4 rivet. I used a #30 drill bit here as the correct size for the rivet.
Next was completing all the diagonals and the laterals. I may have done this before drilling the LS75F1-1/2 to make sure the frame was stable.
It is important to note that when you rivet the skins to the longerons that there are some holes you should not fill, like for the laterals if you don’t have them in place, the side holes of the forward pick up frame and the rear skid frame etc. I had clecod my diagonals and laterals in place before I started to do any riveting so I was OK there. This is for the A4 rivets as the A5’s are left until after all the A4s are in place and when attaching the HT frame, C75F2-4, and the C75F2-3 rear HT frame. I find an easy way to avoid putting rivets in the wrong place is to place clecos in the holes.

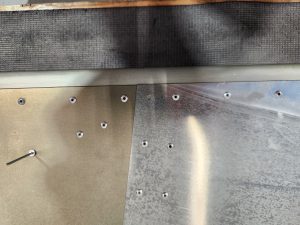
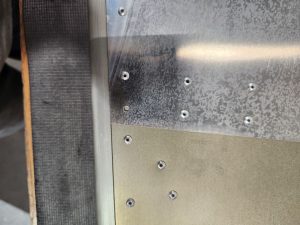
Then the process is to rivet the forward HT frame, C75F2-4, and the rear HT frame, C75F2-3 to the bottom skin and to the bottom longeron flange but NOT to the side flanges of the longerons. After that, the remainder of the A5 rivets between the HT frames are inserted and then those forward of the access panel, again with the exception of the linear actuator plate holes and the front edge of the left and right gussets.
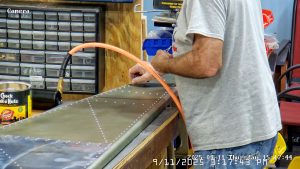
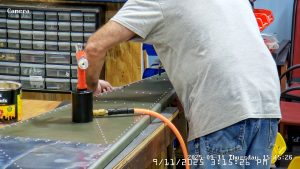
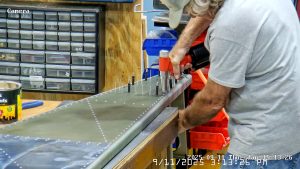
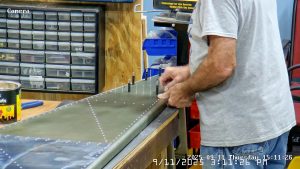
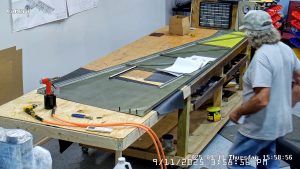
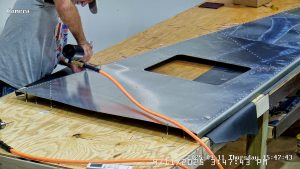
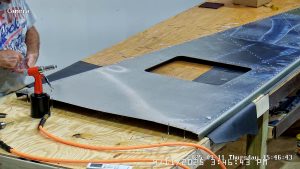
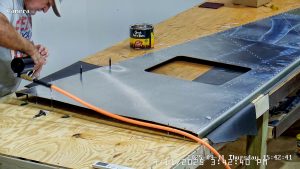
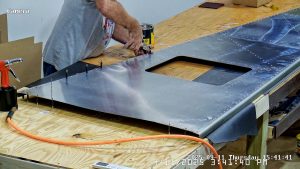
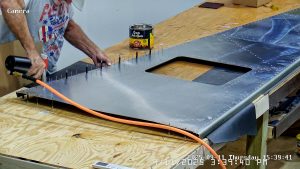
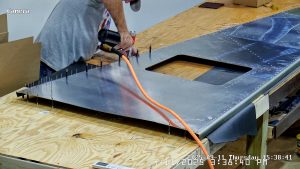
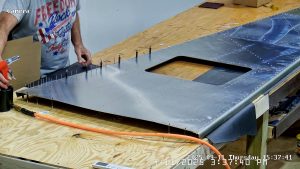
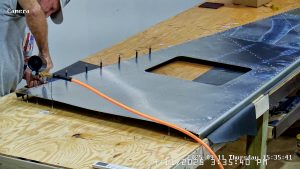
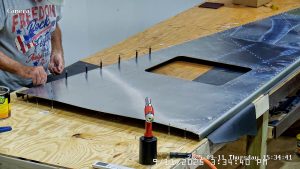

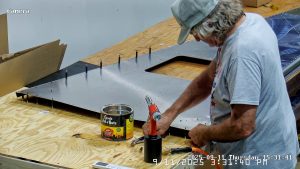
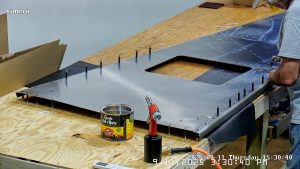
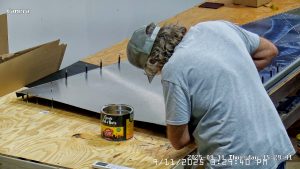
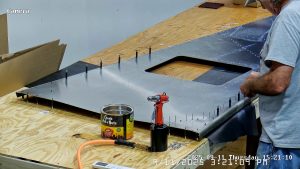
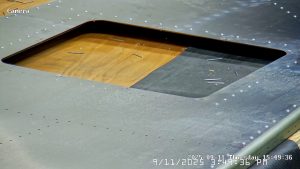
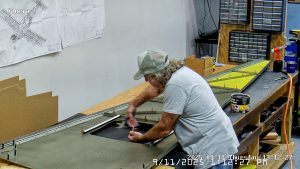
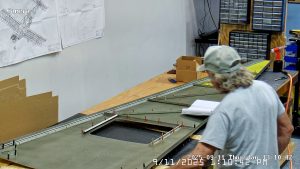
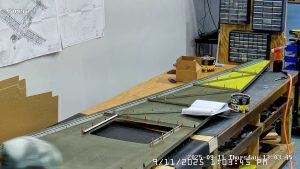
Pictures above show the process of riveting the front skin. I rivetted from the front back but next time, if there was a next time, I would rivet from the access hole forward.
I didn’t have much time to get on with anything else today but I did take a look at FR-04 which refers to assembling the jump seat plates. As I do not currently have the steel parts as they are being powder coated I assembled a couple of the primed parts and then put them aside to get on with the side sheets of the fuselage.
When I primed the rear sheets of the sides I only primed the inside so I had to mask and primed the double rivet row on the outside of the rear sheet as it tucks inside the outer forward sheet when assembled. I again used my zinc phosphate rattle can. Joe S on the Zenith Aero forum is using an etch primer, Nason 491-40, which is grey and I will buy some for when the zinc phosphate runs out.
When you look at the photos you will notice that I do not have the forward skid pickup bracket riveted to the forward HT frame. This is because it is being powder coated and I still have good access for drilling the necessary hole in the bottom skin and riveting the bracket in place. You should also notice that I drilled out the A4 rivet holes in the forward HT frame and the doubler and used A5 rivets to attach.