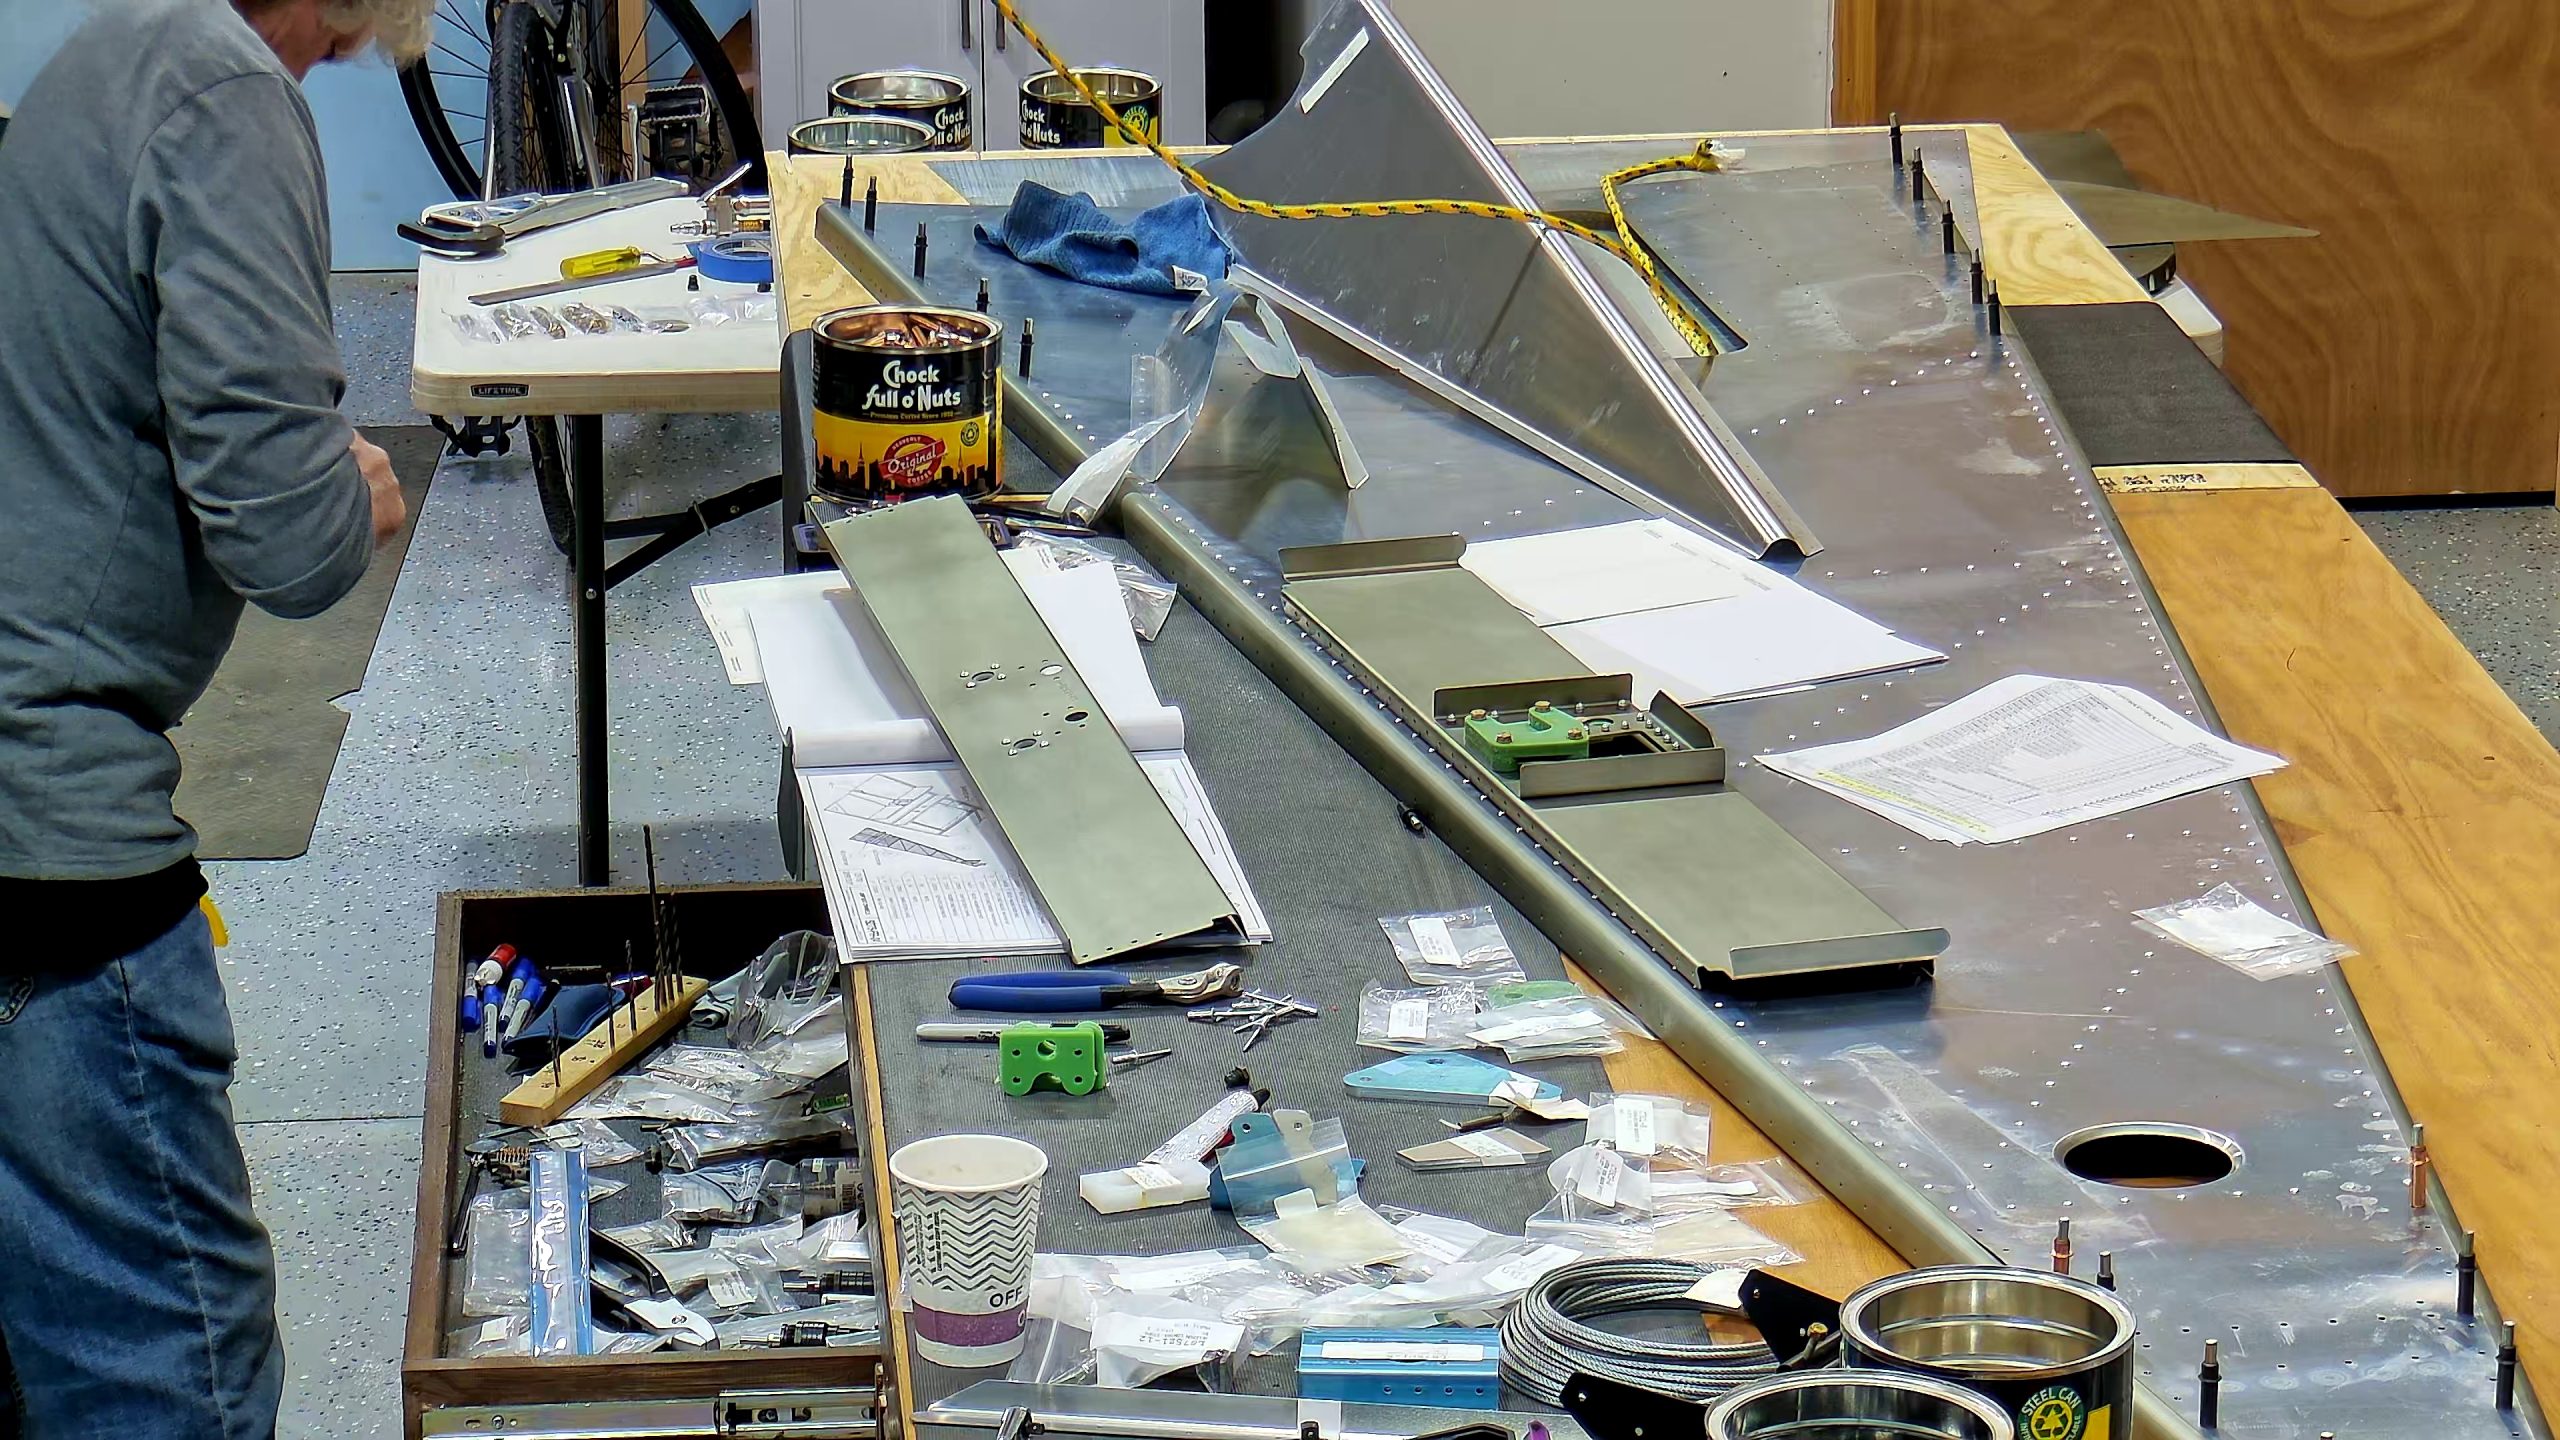
DATE: 10-30-2025 – TIME: 03:04 – 04:15 ~ 1:00
So as I mentioned in my previous post, I removed the AN3-7A bolts and replaced them with AN3-6A. These bolts are barely 1 thread showing so they may be too short. At least with the standard AN960-10 washer. They would probably be better with a thin washer, or using AN3-7A bolts with a washer under the head and the nut would be better. UPDATE: I did change this to AN3-7A bolts with AN960-10 washers under the head and the nut.
I went with the AN3-6A and the standard washers they came with. In the meantime, not having heard from Zenith, I ordered some additional AN3-7A bolts and the appropriate nuts and washers, just in case. Frankly, it’s pretty frustrating. If you look at the snapshots provided by Zenith, you will see some snapshots with an AN3-6A bolt (short) and some with an AN3-7A bolt. Frankly, it’s more inconsistent, lack of QC crap from Zenith.
Here are some pics of my completed fairleads. You may notice that the cable fairleads on the rear jump seat channel are riveted with the manufactured head on the metal and the shop head on the fairlead. This is because the IPL “instructions” say to “pull the rivets from behind”, which as I also noted previously made no sense. In any event, I later drilled them out and replaced them with the manufactured head against the fairlead and the shop head against the channel.
A couple of other points worthy of mention.
I torqued the left and right cable fairleads to 30 lb/in. The bolt spec with an elastic locknut, dry, is 20 – 25 but you need to add the passive friction / torque which generally lies in the 3 to 5 lb/in range so if I am pushing up to 30, then I know I am at the high end, which I feel is better than being at the low end.
The elevator cable fairlead holes in the fairlead were A5 but the holes in the channel were A4 so I drilled them out to A5.
Riveting the channels in place was a bit of a challenge as I had already clecod the fuselage sides in place and did not want to remove them. Another reason to be sure you have the controls kit when you purchase the fuselage kit. It’s strange that Zenith does not recommend the purchase of the controls kit with the fuselage. It would sure make sense given the order they provide for assembly.
At this point I riveted the channels and the bottom tunnel (fuselage) L angles (stiffeners) onto the fuselage bottom.
The IPL file says to install the 5 conductor, 22AWG Belden wire for the trim actuator along the right longeron. While there are photos that show Zenith used some kind of tubing, glued in place, where the cable passes beneath / next to the jump seat channels and the front HT frame, nowhere do they mention what tubing they used, what glue they used to glue the tubing to the longeron or even if it is necessary.
