DATE: 11-01-2025 – TIME: 11:30 – 3:20 ~ 3:30
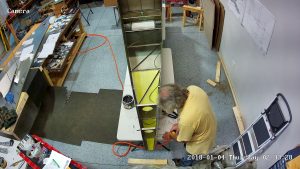
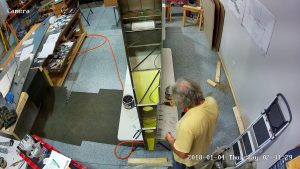
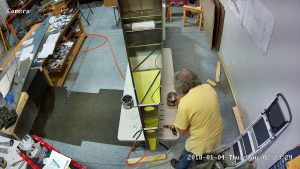
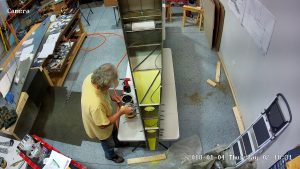
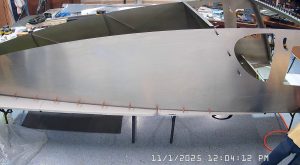
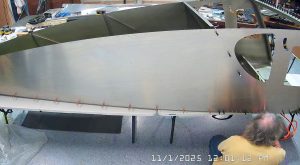
As noted in other posts, I had previously attached the side panels of the fuselage to the bottom / floor of the fuselage with clecos, also the baggage back to provide some rigidty, so today really was beginning with riveting the side panels to the bottom longerons.
Again, the Zenith IPL file is of little help and confusing. At least, I find it confusing in part because it explains some things in “relative” detail and other things it barely mentions. Still other steps it misses altogether.
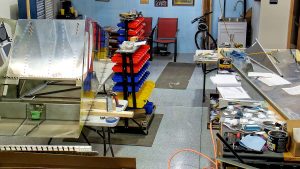
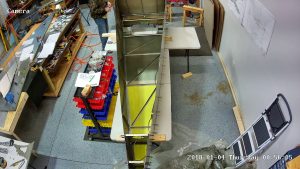
One of the first things to do is to cleco the rear wing attachment assembly in place. See FR-02 for more detail on the subassembly. You will note that I already had the baggage back clecod in place as I had previously assembled it and used it to provide some rigidity to the sides while I was assembling the front and rear jump seat channels.
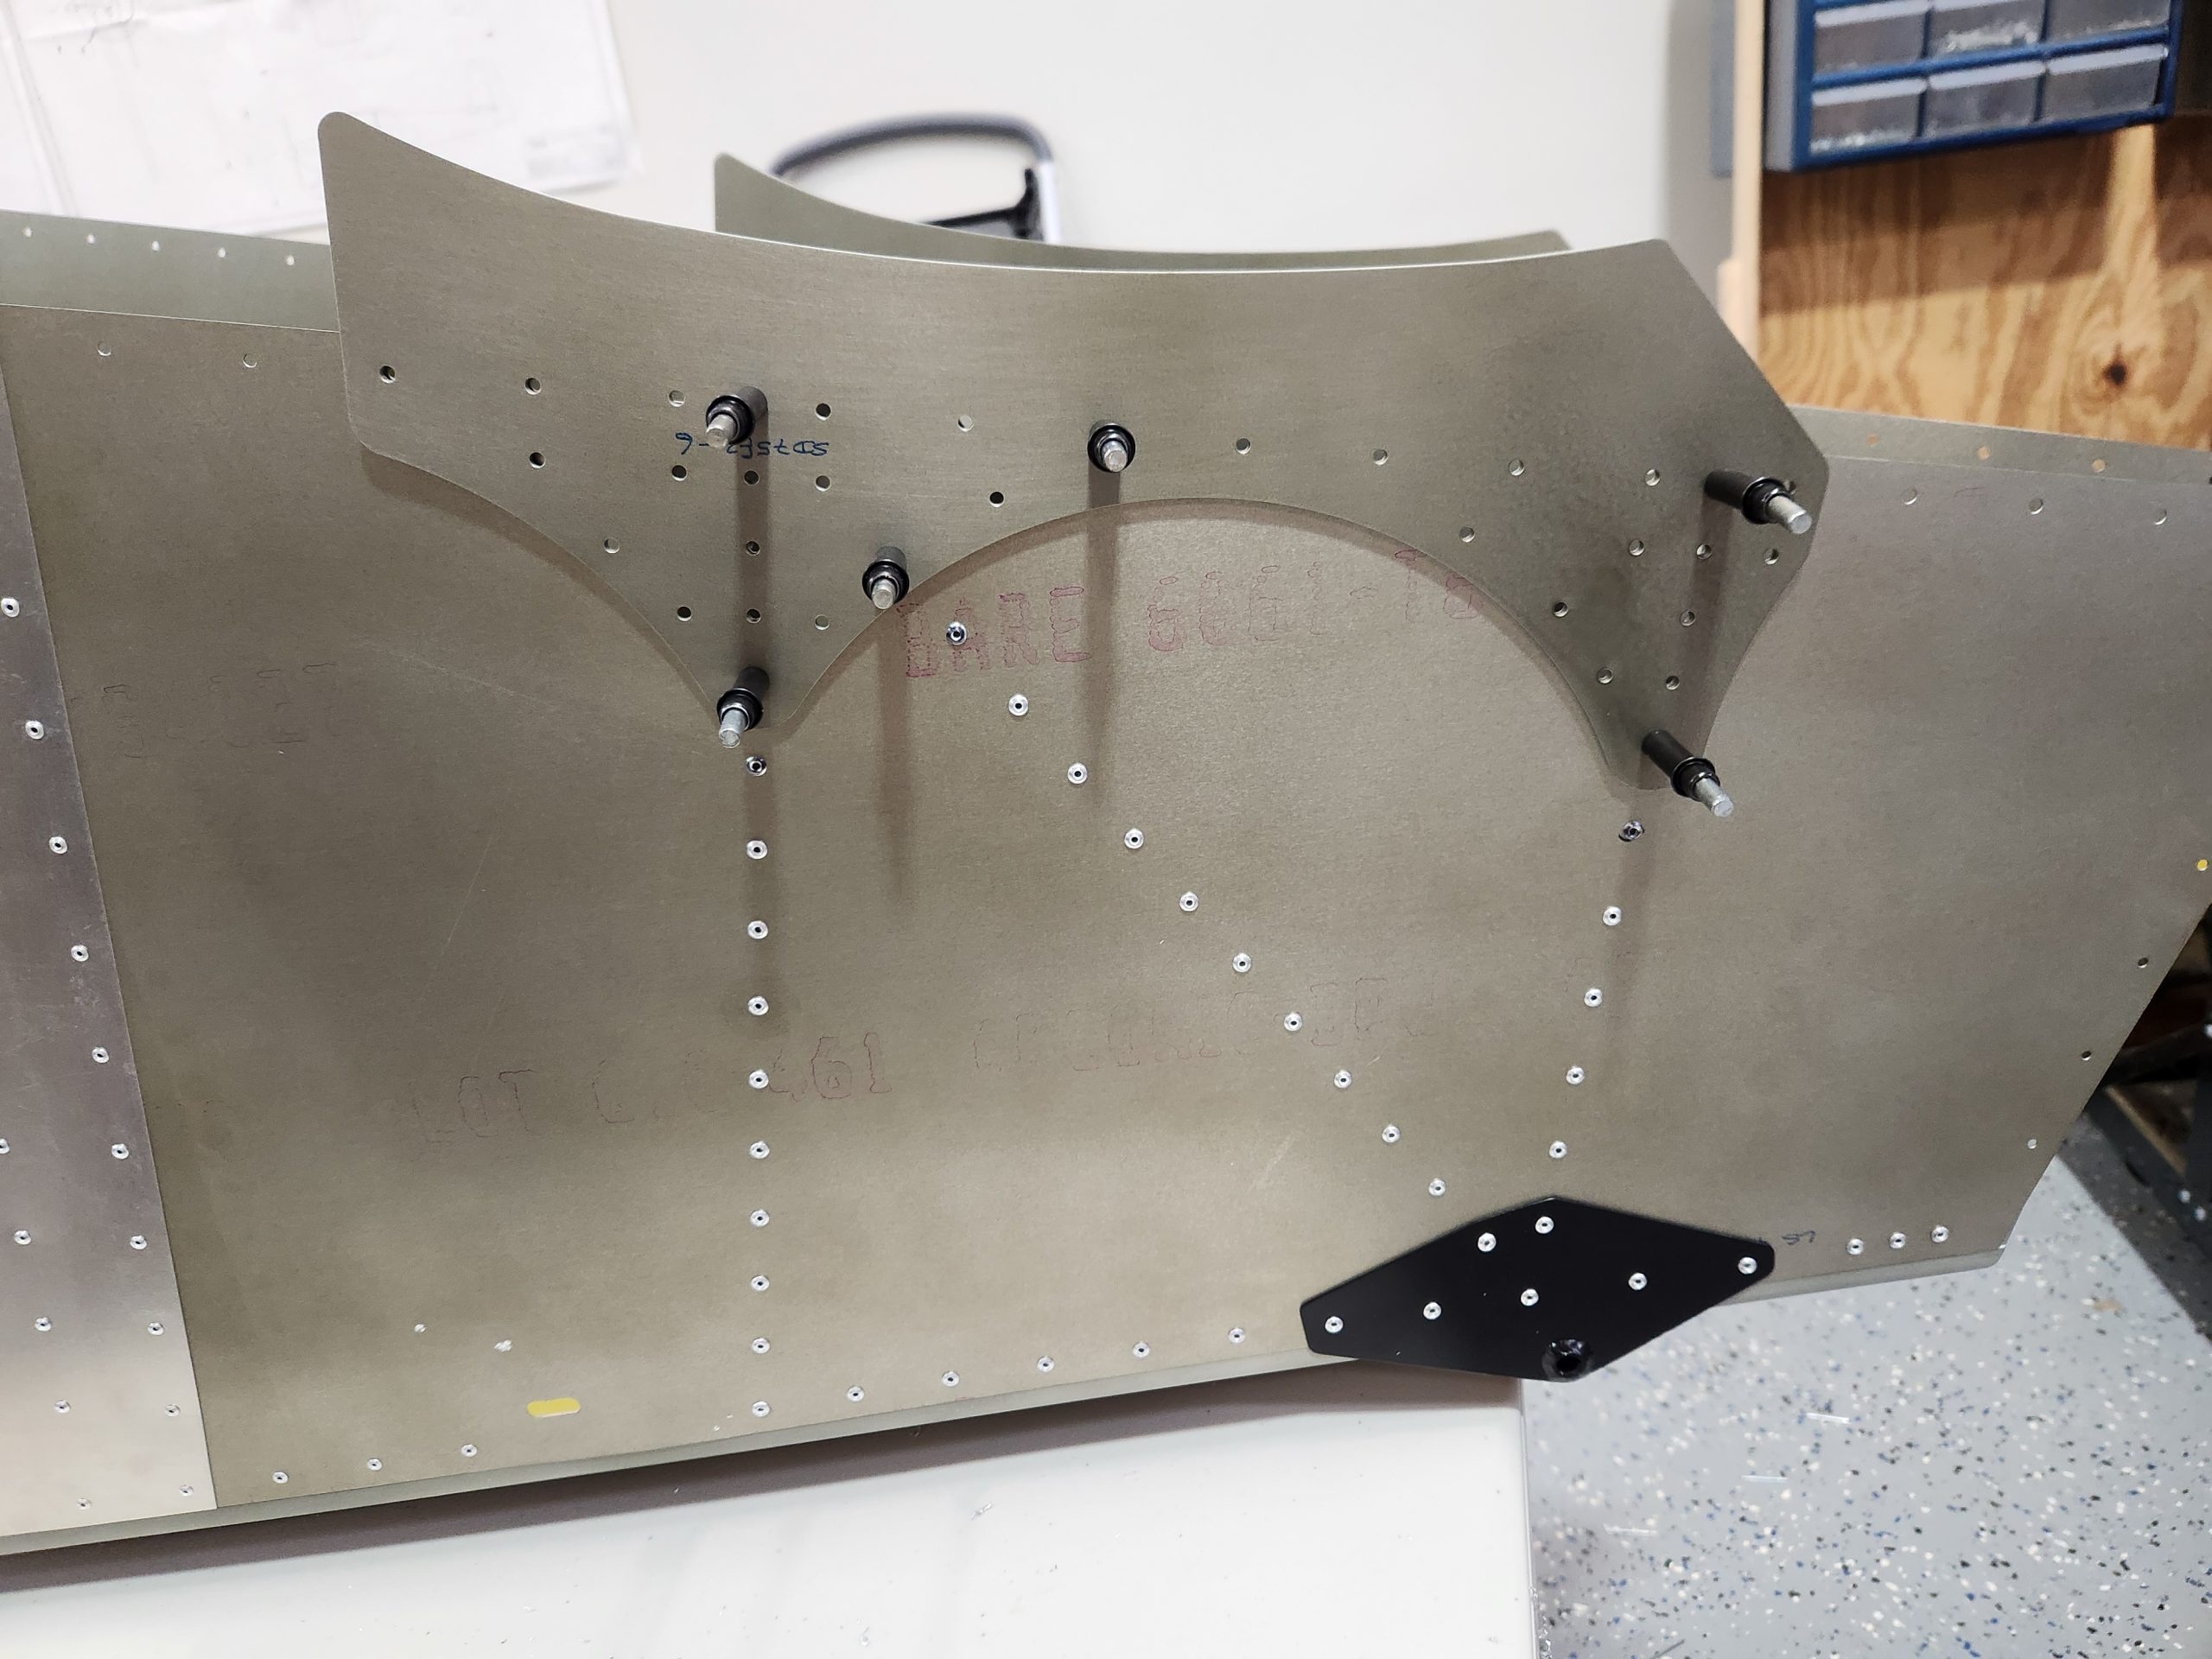
In the case of riveting the sides to the bottom longerons, there is not much mention of the rear skid pickup bracket, which actually is listed on the IPL sheet FR-04 but it doesn’t say what to do with it. There is also no mention of the SD75F2-6, stabilizer attach bracket. The IPL sheet merely says “Rivet the bottom of the side skin to the longerons. The area between the vertical L angles on the side skins is riveted with A4” and “The area ahead of the bottom access holes in the bottom skin is riveted with A5, The HT frame and area aft of the HT frame is riveted with A5.” Yes, I copied and pasted that.
If you don’t pay attention, you will put rivets in the holes where the stabilizer attach brackets are meant to be riveted, as I did, and also the rear skid pickup. I subsequently drilled them out, then put the rear skid pickup in place and riveted it there. Then clecoed the horizontal stabilizer brackets in place to avoid a repeat before attaching the fuselage top skin.
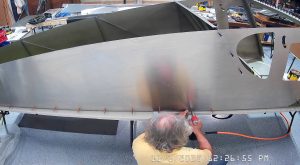
Make sure you have the SD75F41-4 clecod in place before riveting the skin. I had my rear skid pickup powder coated so I used a drill bit to clean out the rivet holes (A5, #21 drill bit).
There are a couple of places toward the front of the rear fuselage where channels are placed later on. Specifically the LS75F3-1 upright on page FR-07 where you don’t want to rivet because you will have to drill it out when installing the LS75F3-1.

There are also two gussets, C75F4-7, that are attached to the left and right skins. No mention on whether they should go on the outside of the skin, or the inside, and no photos that show definitively their location. As it turns out, they go on the outside of the skins. To me that’s counter intuitive, but it’s a pretty dirty airframe anyway so one more rough edge isn’t going to make a lot of difference. You have to put them in place so that you can rivet the skins to the lower longeron. I did have to prime the outside of the skins where the gussets are attached as I had only primed the interior to this point.
When riveting the skins to the HT brackets at the rear I used the #21 drill bit in the drill and hand turned the chuck to clean out some of the holes to make it possible / easier to get the rivets in place. In my kit, while most of the holes aft of the HT bracket were drilled A5, some were not, and I had to drill them out from the A4 they were to A5.
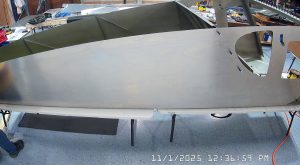
After all of the above, the riveting of the side skins to the bottom longerons proceeded smoothly.
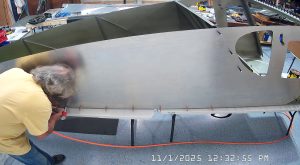
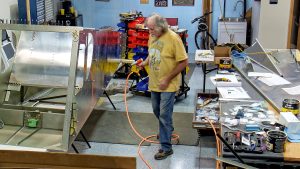
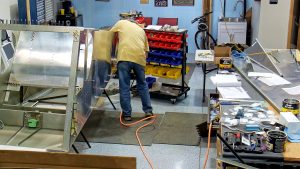
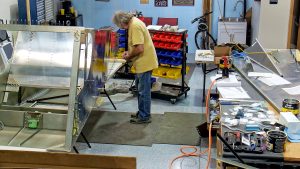
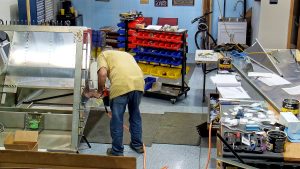

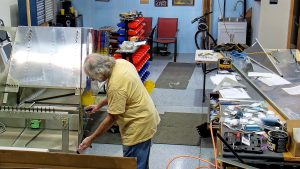
I only have one pneumatic riveter so I first riveted the front A5 rivets in front of the baggage back / rear jump seat channel, on the left and then the right hands side. Then switched to the A4s on both sides, then back to the A5 to finish off the back end and the HT bracket riveting.
NOTE: I had pre-assembled the rear wing attach assembly per the instructions. When clecoing it in place in the fuselage I noted that the rivet holes in top of the channel, specifically the C75F3-6 and the C75F3-4 are misaligned to the point where between 20 and 30% of each rivet hole in the C75F3-4, rear top channel, is obscured by the overlapping C75F3-6. I am not sure what I am going to do about this yet but clearly oblong rivet holes are not going to work.