DATE: 11-01-2025 – TIME: 3:23 –
This section is primarily the assembly of the baggage back sub-assembly and clecoing and riveting it into the fuselage.
As you will note from previous posts, I had already assembled the baggage back and clecod it into the fuselage, with the exception of the two C75F4-9 gussets. One left and one right.
The IPL and drawing refer to A5 rivets to rivet the gussets in place. My gussets were drilled A4, not A5, so I had to drill them out first with a #21 drill bit. After that, riveting the baggage frame in place was not an issue.
One does need to be aware with all this side skin riveting to not put rivets into any top row holes in the skins as they are riveted once the top skin is in place.

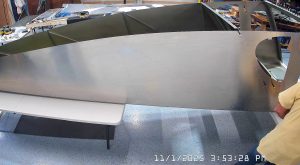
It is important to note that only the side channels of the baggage back are riveted. The gussets have 3 rivet holes in them that align with the frame of the front fuselage section that should not be riveted at this time. Ileft two clecos on each side to remind me not to put rivets in the holes.
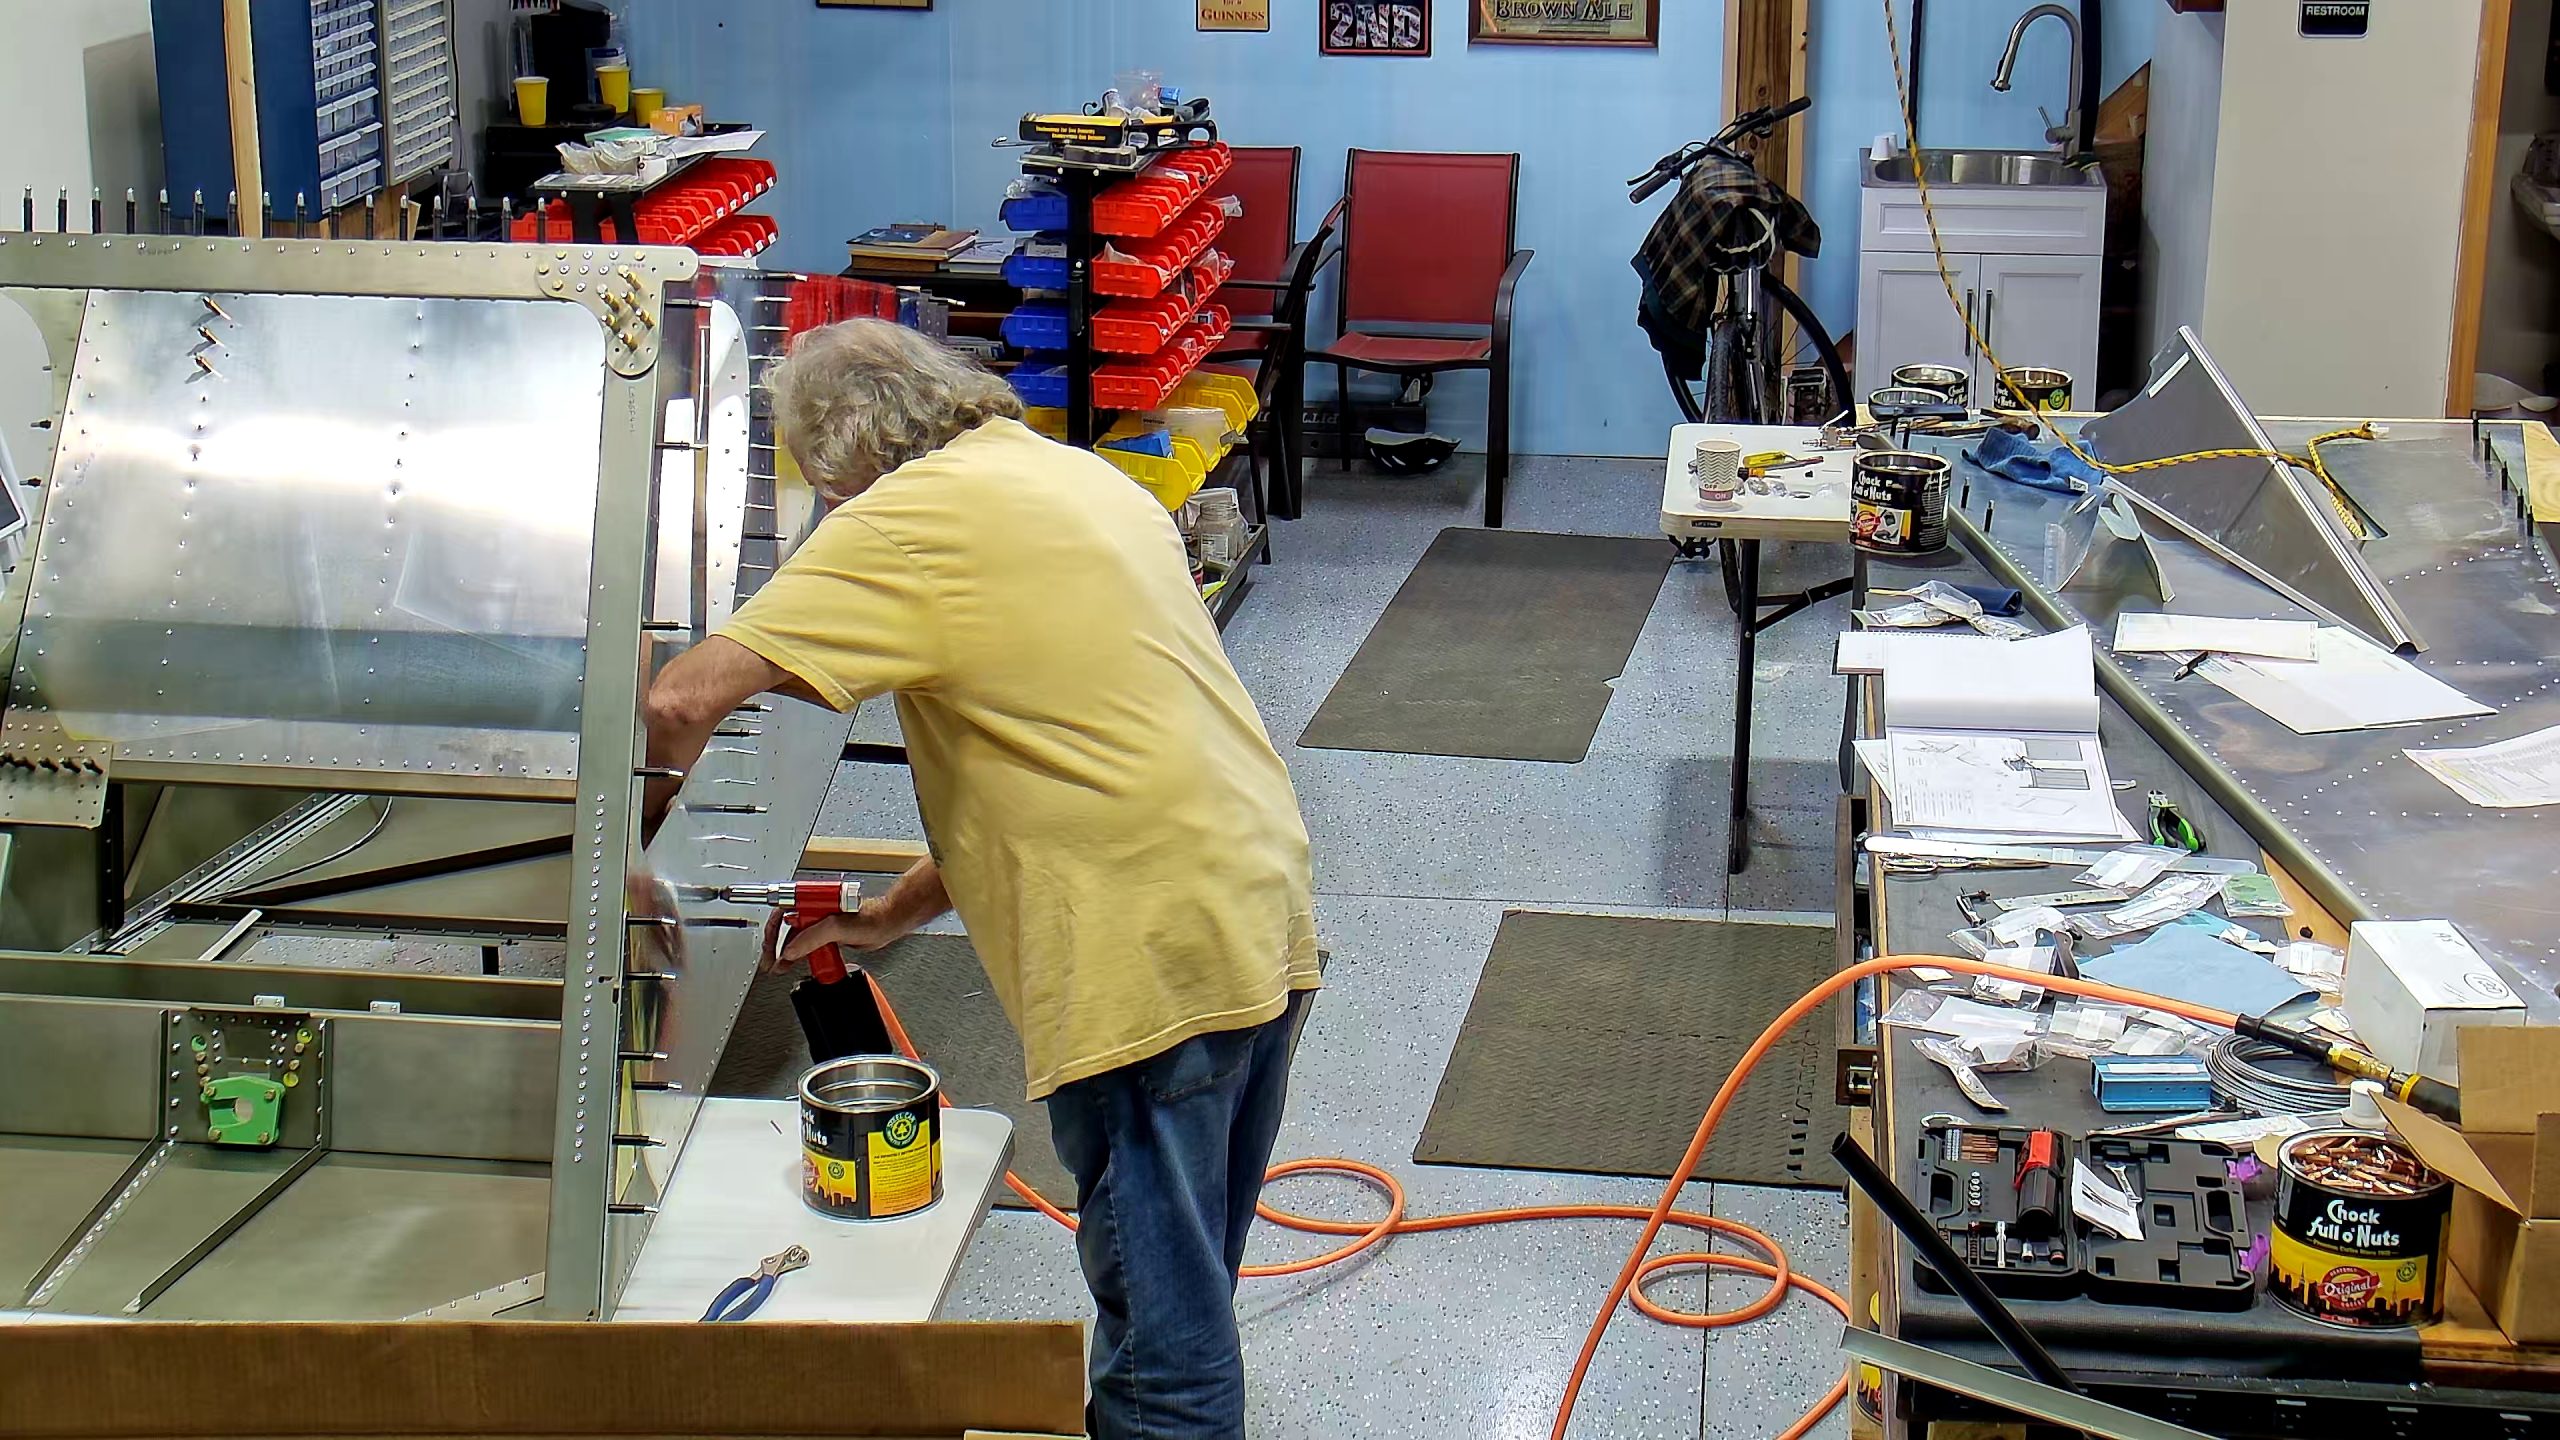
I spent the last bit of time today clecoing the horizontal stabilizer brackets in place to remind me not to put rivets there. Then I primed some of the components of the control mixer ready for assembly before assembling into the fuselage. I had all of the main steel parts powder coated. This necessitates cleaning the holes with the correct size drill bit but I figure it is worth the effort.