
DATE: 11-03-2025 – TIME: 01:04 – 03:00 ~ 2:00
I’m not quite sure why this section isn’t an FC section as most of the work here is specific to the control mixer and is another reason to order the controls kit at the same time as you order the fuselage.
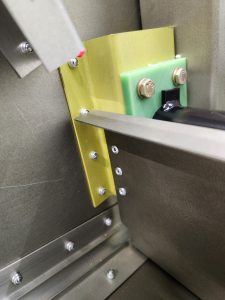
I had my SD75C1-6, control mixer, powder coated. Only the welded bolts for the belcrank were not powder coated and I had no problem fitting the mixer into the bearings. I primed all of the non-powder coated aluminum components, with yellow zinc phosphate primer, which may not have been necessary but I was priming everything else.
The castellated nuts were easy enough to install and get a snug fitting on the bolt without having to shorten the bushings C75C1-9. The drawing pages don’t show the cotter pins but they are listed in the parts list on the drawing. Hard to get their placement wrong though.
When assembling the mixer bearing support, LS75C1-5 and C75C1-4, mixer bearing, the drawing calls for an AN3-6A bolt. The IPL sheet specifies an AN3-5A. I don’t know what was supplied in the kit, but Roger had previously indicated that what the drawings say is correct. The AN3-5A would be woefully short. The drawing says a washer under the head, but shows a washer under both the head and nut. I placed washers under both the head and nut to get the number of threads showing within spec (2-3). I note also that I bought additional AN960-10 washers, AN3-6A, AN3-7A bolts and AN365-1032A elastic lock nuts so I have the option of using what I think is best, or filling in where Zenith missed something.
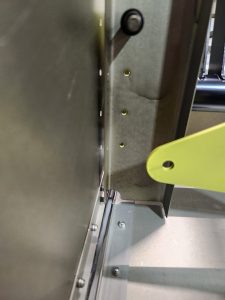
Having assembled the whole mixer arm assembly, and it should be noted that 2 of the bolt holes in the mixer bearing support are closer to the mixer bearing hole and that these go to the bottom with the flange that rivets to the side skin is toward the rear, I placed it in the fuselage for riveting.
It is important to note that it will be very difficult to insert the top rivet through the skin, into the mixer bearing support because the top flange of the rear jump seat channel is bent toward the rear and interferes with the uncompressed rivet. I left off clecoing the mixer bearing support to the LS75F3-1 upright until after I had riveted the support to the side skin. It was the only way to be able to get the top rivet in place without bending the rear jump seat channel flange.
The IPL says to not rivet the upright, LS75F3-1 at this time. I have left a number of rivets out until later to facilitate other operations, only to insert them later. This is a strategy that has worked well for me.
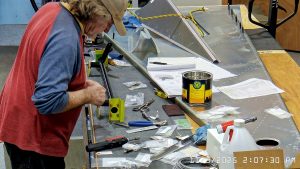
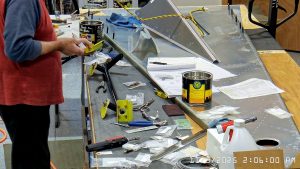
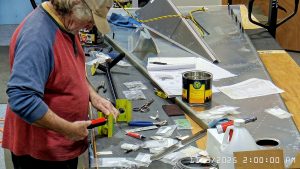
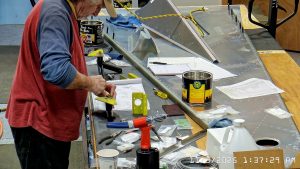
Here are some snapshots relative to the completion of this drawing page.

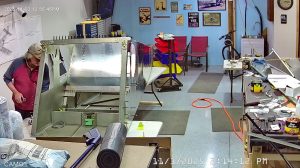

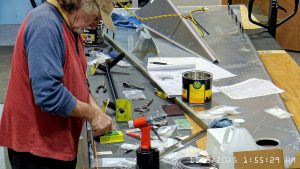

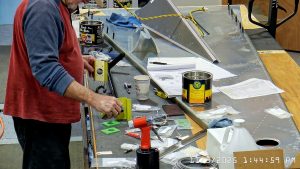
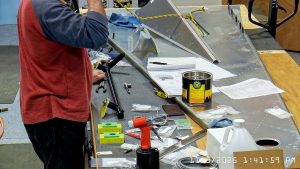
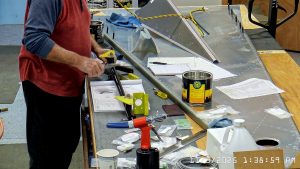
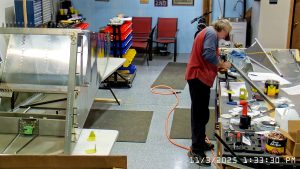
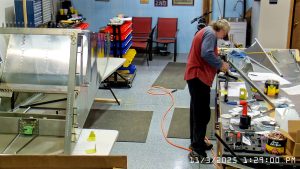
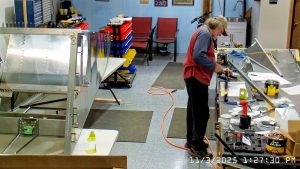
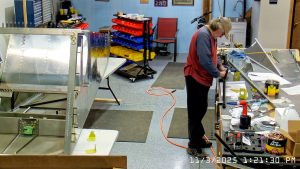
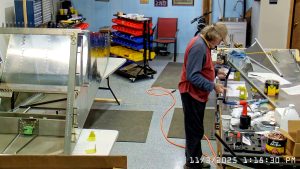

What you cannot see here is me groveling through the bottom fuselage access panel to pull the rivets in the mixer bearing support to the rear jump seat channel.