
DATE: 11-05-2025 – TIME: 11:56 – 1:47 ~ 1:50
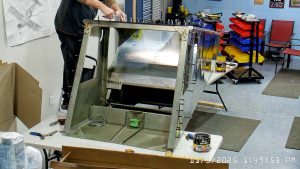
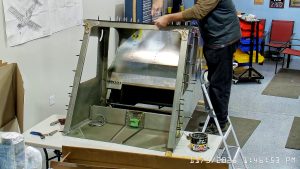
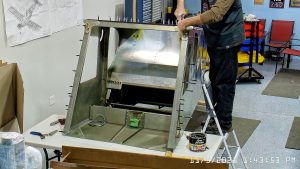
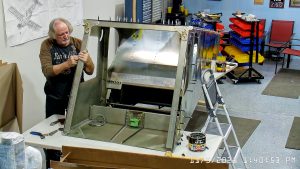
Today was spent continuing with making sure the parts were all properly aligned for the next riveting session.
On page FR-08 the drawings show the cockpit and jump seat shoulder harness brackets attached and the IPL mentions riveting them in place with the AN5-5A bolt already fed through from the skin side of the bracket. As I did not have the bolts, and Roger at Zenith said he would send them, I could not put the brackets in place so had left them off on the table in front of the rear fuselage.
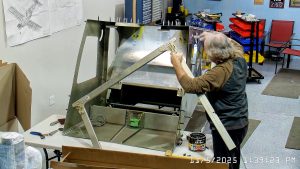
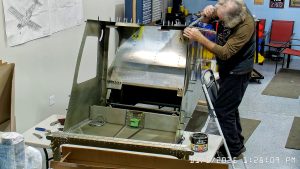
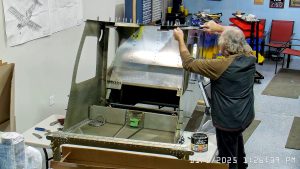
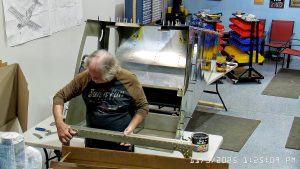
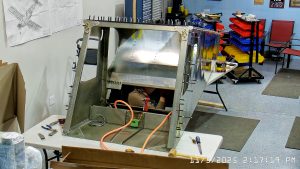
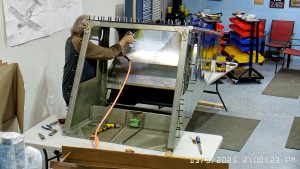
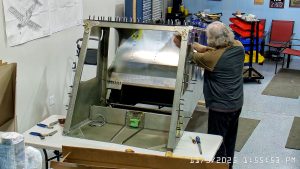
Beginning on page FR-09, having previously assembled the top skin, when I was trying to get the rivets into the C75F3-4 and -3 the holes were not aligned. Nor were the holes in the top skin and longerons. In the end I removed the whole rear wing attachment frame and removed some material from the left top longeron so that the frame could move back about 3/16ths of an inch which allowed it to align much better with the top skin. I still had to really work at getting the clecos in, which I placed in every second hole alternating between the forward and rear rows in the top of the frame.
Fortunately, I had not yet riveted the cockpit harness mount channels to the rear wing attach assembly, nor, in fact, drilled the necessary holes in the assembly to do that riveting. Generally, I have found it better to do my best to make sure everything in an area aligns properly first before riveting anything.
There is also mention in the IPL sheet, FR-09, with regard to a top doubler, SD75F4-3, distinct from the external skin doubler, SD75F30-2, that they should be clecod in place but not riveted. While the F30-2 are shown on the drawing deck on page FR-09 and in the solidworks drawings, the F4-3 doublers are not. I had the parts on my “primed” shelf so I searched around until I found a photo which showed where they should be placed.
At this point I was happy enough with the fit and riveted the rear channel attach brackets to the baggage back. the four vertical holes in the centre of the bracket are drilled A5 but the baggage back was drilled A4 so I had to drill those out. When doing this kind of thing one has to be careful to not enlarge the hole being used as a pilot, and also to watch for metal chips between the two parts being drilled.


The lower holes in the bracket can be drilled and riveted from the front but there is no way to do that with the holes higher in the bracket, they have to be done from the behind the baggage back.