
DATE: 11-06-2025 – TIME: 1:20 – 4:16 ~ 3:00
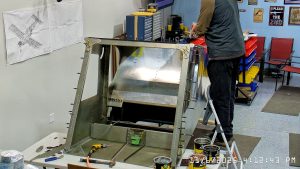
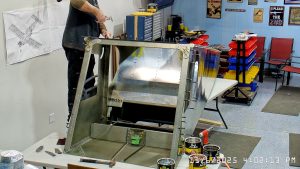
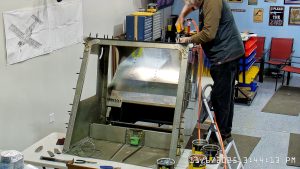
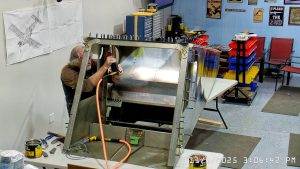
Yesterday I got most everything to the point where I am happy enough to start riveting. I read and re-read the IPL files and the drawings in an effort to avoid doing things and then having to undo them.
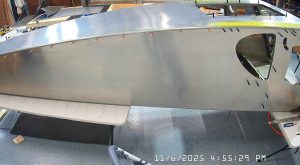
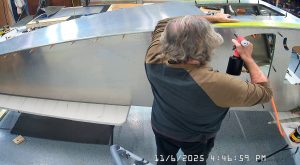
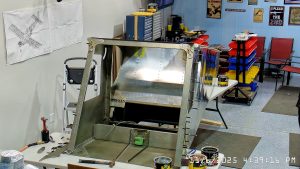
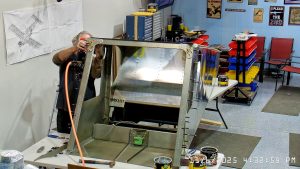
I was not quite successful today. I put the top skin doublers SD75-F4-3 in place and actually started riveting one before I realized that I had not primed the top skin underneath the doublers and that the IPL file says to not rivet them until the cockpit frame is installed. I checked all the drawings and instructions and there did not seem to be any reason to not rivet them in place but as I had to prime underneath them I drilled out the few rivets I had pulled and removed both top doublers to spray with zinc phosphate.
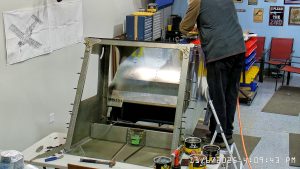
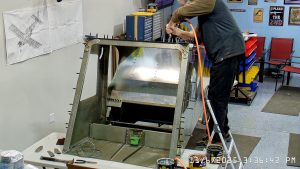
The IPL file then says to rivet the channels, presumably it means the harness channel mounts and the rear wing attachment frame assembly. At least that is what I assumed, plus the top skin to the baggage back. The top flange of the baggage back in my kit was not drilled and the holes in the skin were drilled A4, not A5 as specified in the drawing sheet FR-09 so I had to drill those holes.
Additionally, the holes in the harness mount channels were drilled what appeared to be A3 but the drawing again specifies A5. To make matters worse, the holes in the channels did not line up correctly with the holes in the top skin so I had to drill them out to A5 which is really difficult to do without elongating the hole in the skin. I did manage to get this done fine except for 1 hole which I then drilled out to A6.
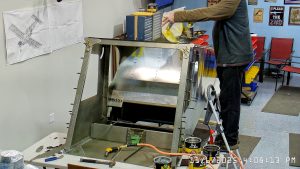
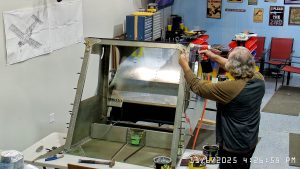
Before I drilled out the holes in the harness mount channels I drilled the rear wing attachment frame to the forward channel attach brackets, SD75F30-3. I had previous clecod the channels to the top skin and riveted the rear channel attach brackets to the baggage back so they were pretty stable. I held the forward bracket in place, drilled one of the side holes, put a cleco in it, then drilled the opposite side hole which I then riveted (A5). then I removed the original cleco and riveted the hole, then completed drilling the holes inboard and riveted them.
In my kit, the two external skin doublers, SD75F30-2 are drilled A5, which is correct, but they also rivet into the harness mount channels which, as mentioned previously, were drilled A3, so I had to drill those out before riveting on the doublers.
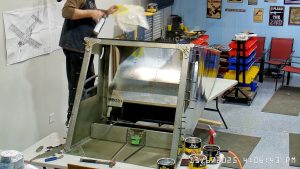
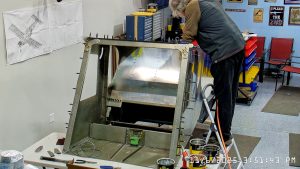
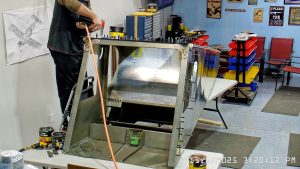
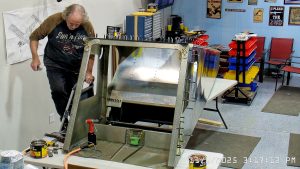
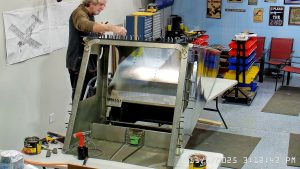
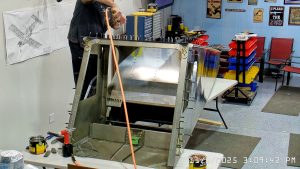
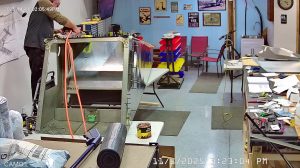
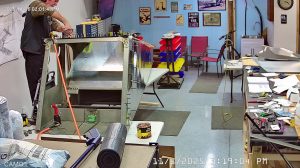
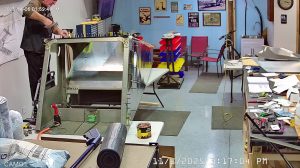
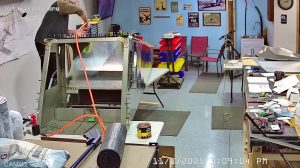
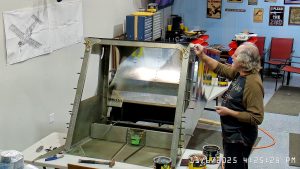
Lastly, the roof window is not riveted to the channels, instead it is glued to the top skin between the rivets, per photos provided in the Zenith information. I left 4 rivets out on each side of the roof hole so that I could cleco small pieces of aluminum to hold the roof window in place while the sealing adhesive used to attach the window cured. I left clecos in those holes.
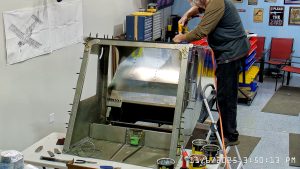
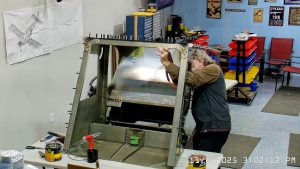
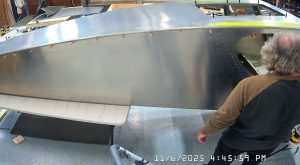
At this point everything was nicely aligned so I could just go ahead and rivet the top skin to the harness mount channels.
The rear wing attachment frame that I received still had alignment issues with the holes in the top that made it very difficult to insert rivets so I ran a #21 drill bit (a little undersized) through each hole before inserting the rivet.
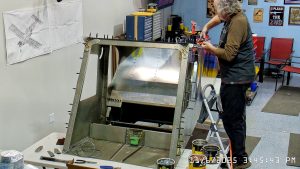
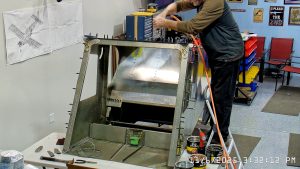
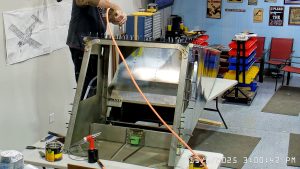
At this point the IPL file indicates that the next step is to rivet the side skins to the top longerons. The longerons go between the side skin and any internal vertical L angles or others.
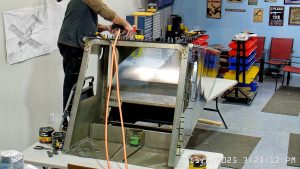
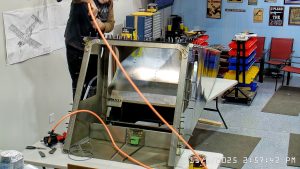
Note: Make sure you have your shoulder harness mount brackets in place before you rivet the front, and don’t rivet the back where the horizontal stabilizer attach brackets, SD75F2-6, go or you will have to drill out those rivets.


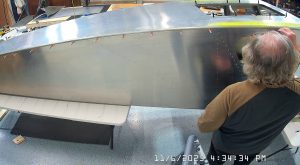


I finished the A5 rivets along the front top longeron to side skins and then I clecod the SD75F2-6 stabilizer attach brackets in place so that I would not forget to not put rivets in there when I was finished riveting the side skin A4 rivets into the top skin longerons.