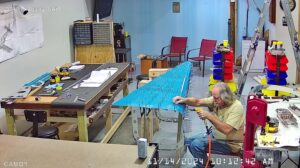
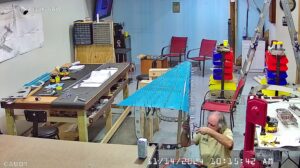
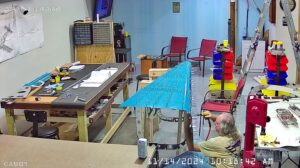
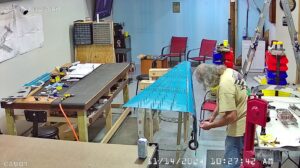
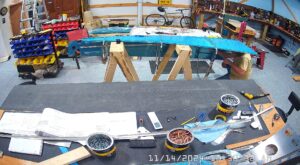
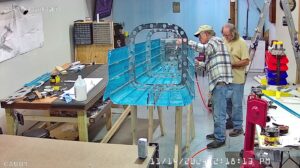
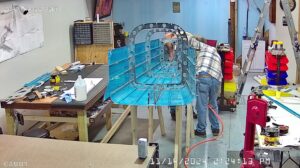
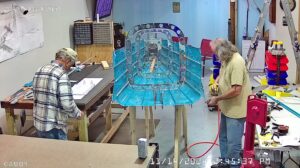
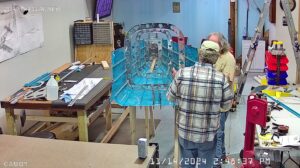
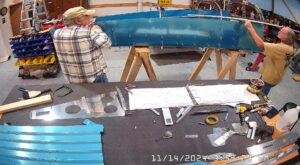
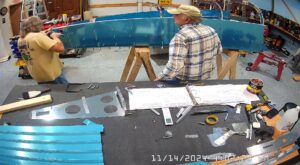
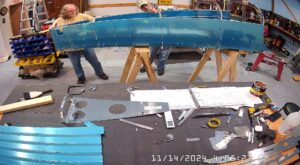
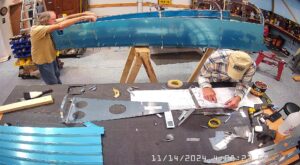
DATE: 11-14-2024 TIME: 9:43 – 4:55 ~ 6:30
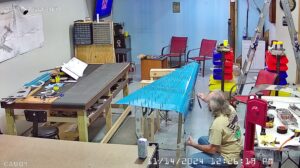
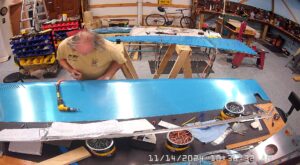
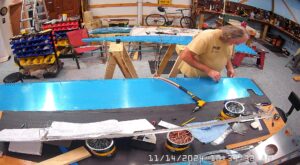
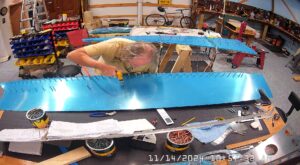
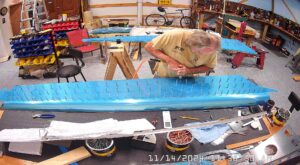
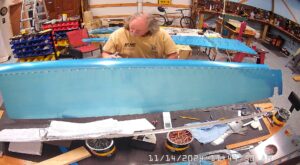
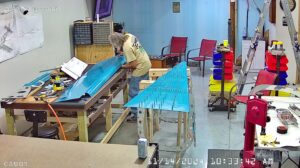
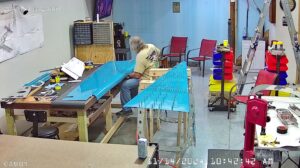
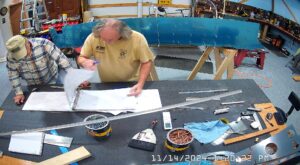
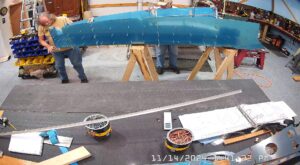
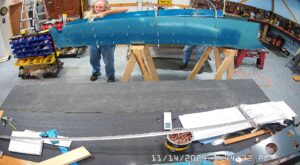
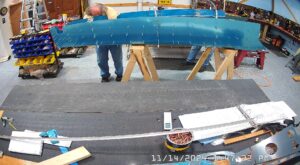
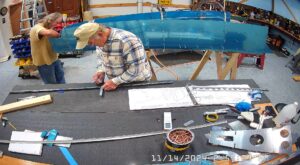
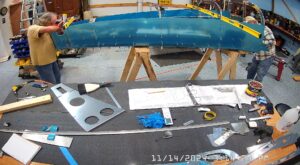
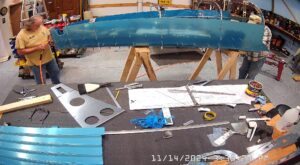
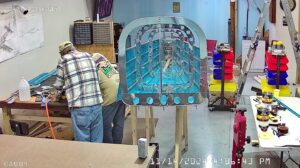
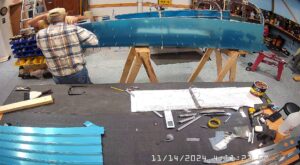
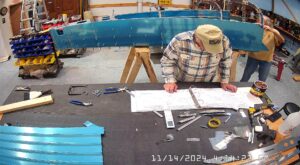
I started the RV-10 Tailcone assembly today with the match drilling #40 the right skin to the F-1047C,D and E stiffeners per step 7 on page 10-7.
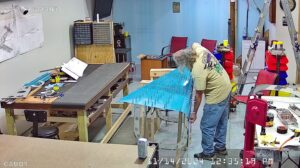
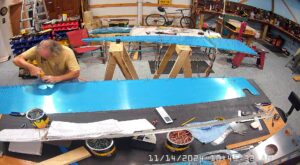
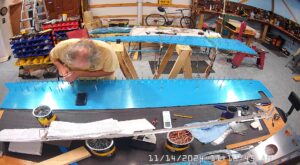
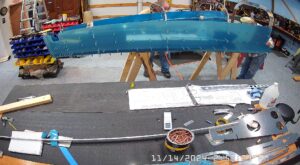
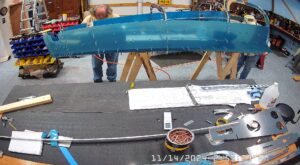
I quickly realized that, working on my own, there was no way I was going to be able to easily complete this drilling so I match drilled the alignment holes at each end of the stiffeners while the skin was in place, then removed the skin and completed drilling the remainder of the holes through the skin into the stiffeners on the bench, clecoing as I went to make sure the stiffener remained in place. This process actually went quite quickly and I think it’s quicker than trying to drill it on the frame and I suspect just as accurate.
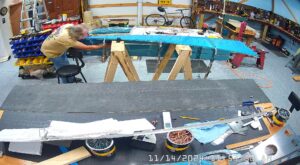
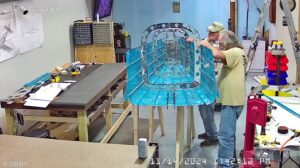
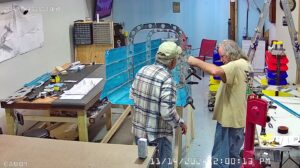
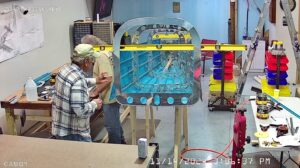
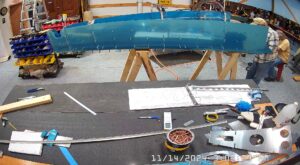
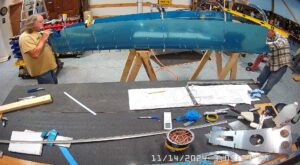
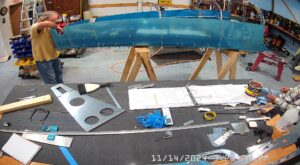
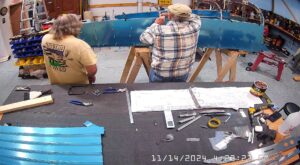
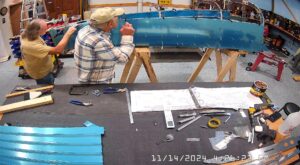
EJ arrived during the course of the drilling of the right skin stiffeners and helped finish it off and then roll the tailcone over so that it was upright.
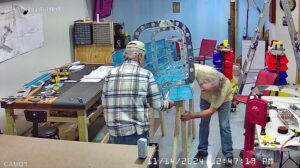
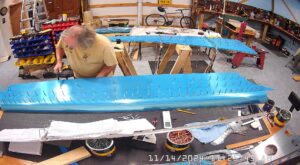
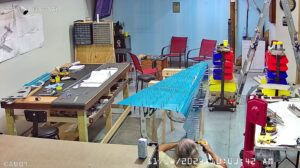
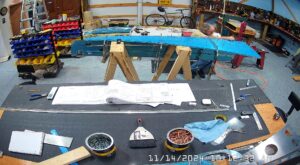
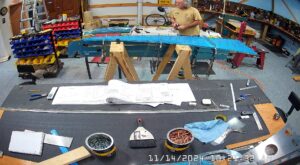
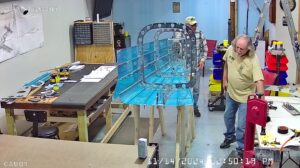
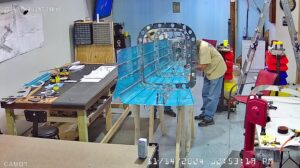
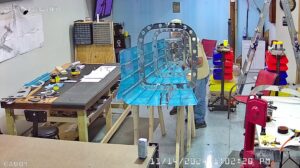
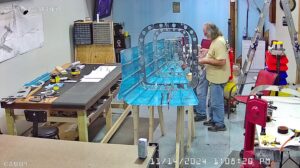
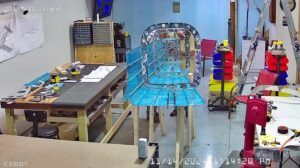
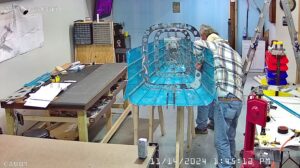
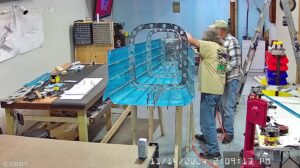
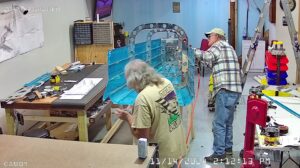
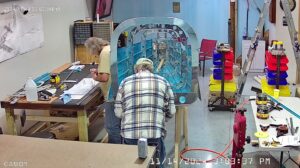
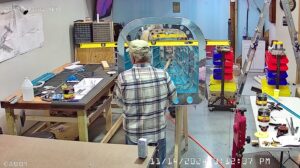
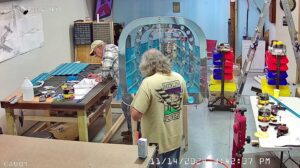
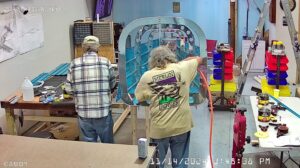
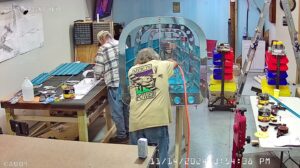
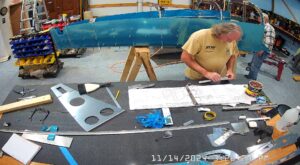
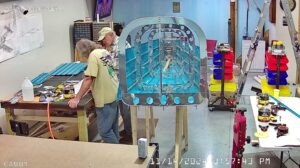
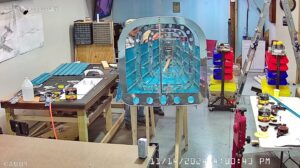
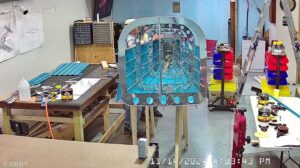
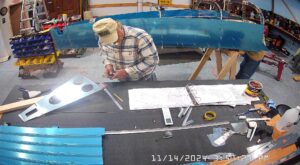
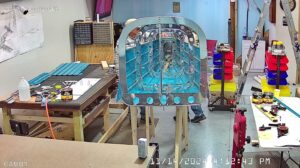
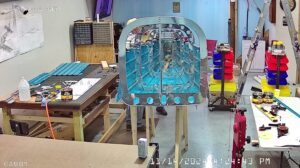
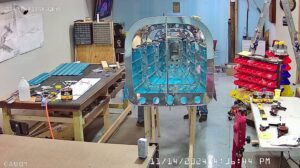
Next came the attachment of the F-1011 bulkhead to the F-1079 aft and F-1078 foward bottom skin and to the F-1073-R side skin per step 1 on Page 10-8 and then attaching the F-1012A & B bulkheads to the aft bottom skin and the right side skin. Unfortunately, because of the way the cameras are situated, you can’t see much of the process in these snapshots, but the attachment of the F-1079 to the F-1078 was a tight squeeze. Also, the drawing is not clear, nor the instructions, as to whether the F-1079 should be inside the F-1079C skin, inside the bulkead, or up against the F-1073-R skin. I opted for putting it inside the bulkhead so as to ensure it did not crease the right skin, even though it meant the F-1079 bottom skin got a little bent. However I look at it, if it goes between the stiffener and the skin the skin is likely to become creased when riveting everything together but if the instructions indicate that it should be on the outside of the stiffener, then I will do that.
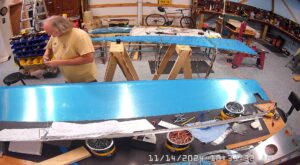
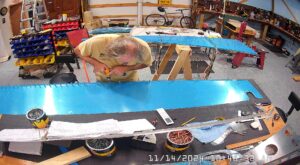
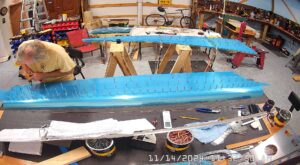
Next was step 3 on Page 10-8, basically a repeat of step 5, 6 and 7 from page 10-7, attaching the left skin and match drilling #40 the F-1047C, D and E stiffeners.
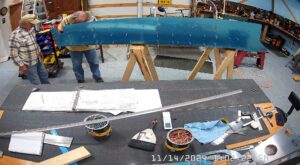
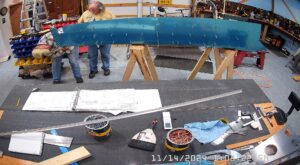
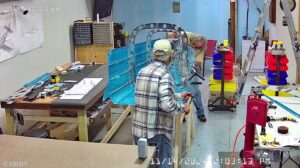
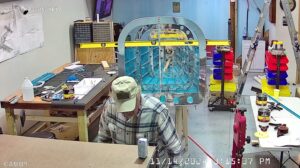
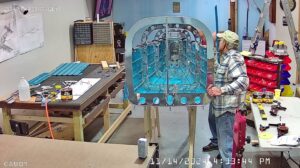
If you scan through these snapshots you will see that at one point I am walking around holding a shop towel to my left hand. That’s because, despite being careful, I put the drill through the skin and the stiffener through and under the nail of the 3rd finger of my left hand. Hurt like heck for about 10 minutes but I soaked it in shop iso alcohol for 5 minutes and then got back to work.
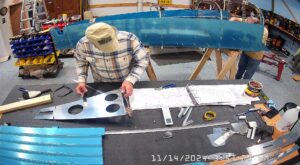
Much of the rest of the items on page 10-8 had already been completed, separating and deburring parts the F-1055-L & R and putting them in place. I made the F-1056 rudder stop described in step 6 and then drilled it per the instructions, only to discover I had drilled it incorrectly, despite putting it in place and had to fabricate a new one.
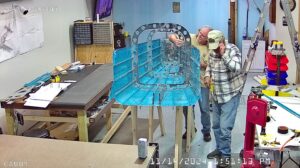
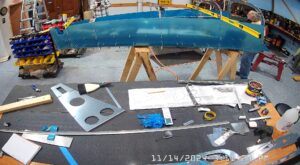
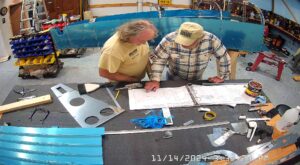
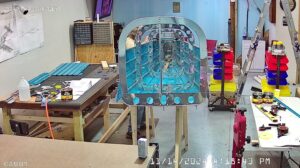
As I finished off the steps on page 10-8 EJ started at Step 1 on Page 10-9, attaching the F-1006 bulkhead and the tasks described in step 2. By that time I was finished with with rudder stop brace drilling and placement and completed step 3, separating the F-1037 parts, followed by step 4, final drilling and machine countersinking the but plate attachment holes in the F-1037A, B and C parts. EJ had already attached them in the tailcone as described on Page 10-10, Step 1, when it came time to machine countersink them, as I was catching up, so I just machine countersunk them in situ, worked fine.
The next step was to put the F-1032 left and right longerons into place and clamp them there for match drilling to the skins. I did not drill them but we did get them in place, along with the F-1014 aft deck.
Please watch your fingers when drilling where you can’t see. It really hurts 🙂
