DATE: 09-12-2025 – TIME:
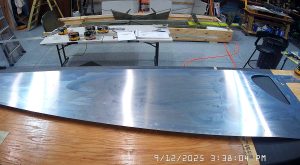
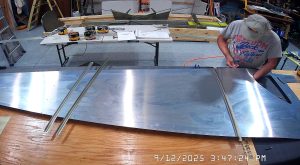
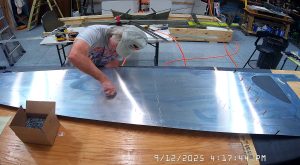
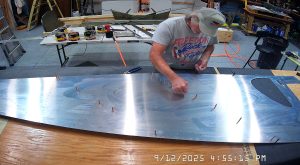
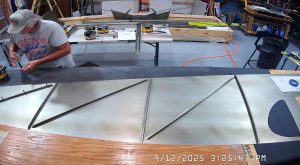
Today I started on the side fuselage skins because I could not work on the jump seat frames and linear actuator as the steel parts are all away being powder coated, so I flipped forward to section FR-05 to start assembling the side skins. There are a couple of things I think are important to note, and of course a couple of errors in the kit.
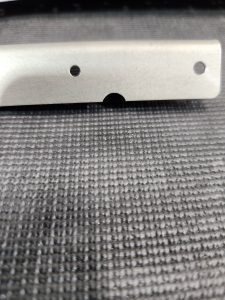
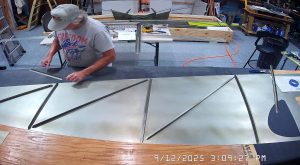
First, the vertical angle SD75F18-1, has a notch in the rivet flange and that notch goes at the bottom of the skin. and the solid flange is aft of the rivet holes. This is the only angle piece with the rivets ahead of the solid flange, all the other vertical angles and diagonals from the SD75F18-2 and back are oriented with the undrilled flange toward the front and the rivet holes behind the undrilled flange.
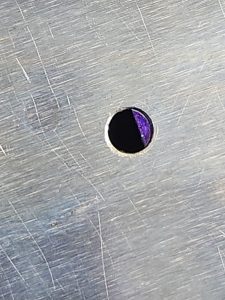
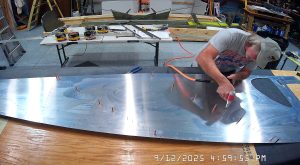
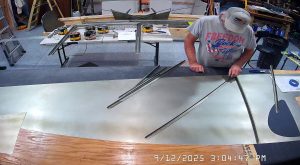
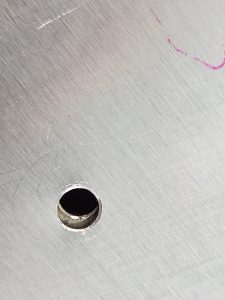
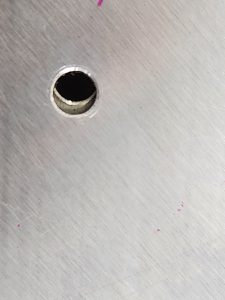
When SD75F18-1 is clecod in place you will see that there is a rivet hole forward of the SD75F18-1 at the top of the skin, the first rivet hole, that is partially obstructed by the SD75F18-1 angle. I removed the angle before riveting it in place and used a round file to file another notch in the rivet drilled flange so as to not obscure the rivet hole in the skin. I took a couple of photos you can see here. I don’t know why this is misaligned, but I do know that trying to drill out the hole once the SD75F18-1 is riveted in place will make a mess of the fuselage side skin.
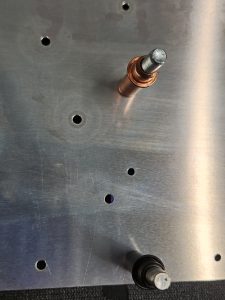
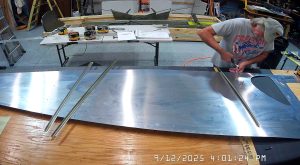
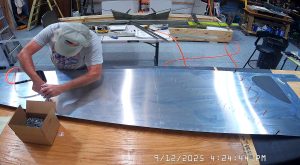
Secondly, for diagonals SD75F18-2 and -4, the notches go at the top of the skin. When all of the vertical and diagonal angles are in place, rivets behind the solid flange, I placed clecos in the holes I did not want to rivet, e.g. the holes that will also rivet the skin to the longerons (top and bottom). I try to not space my clecos more than 4 or 5 holes apart. Sometimes 3. Then I placed rivets in all the holes. All of the rivets inboard of the longerons are A4 rivets with the exception of those that hold SD75F18-8, they are A5.
PICS COMING BELOW

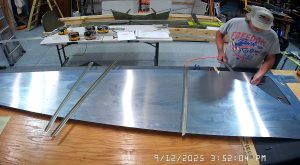
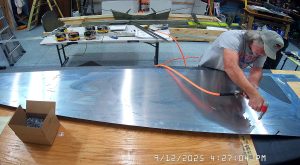

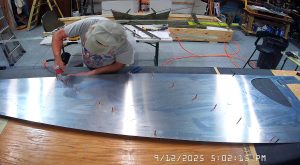
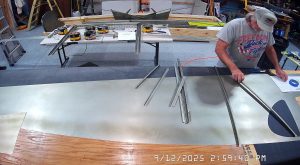
When I was placing the A4 rivets in the holes in the SD75F18-4 I discovered that there are 2 holes misaligned in the skin with the holes in the SD75F18-1. To be sure it wasn’t my error, I removed the SD75F18-4 I originally had in place and replaced it with the other. All this did was to change which 2 holes were misaligned so this is either a design or production flaw somebody should have fixed.
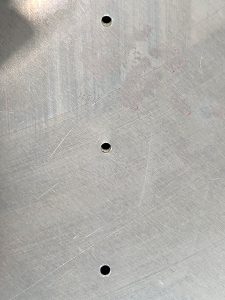
As I mentioned with respect to the obstructed rivet hole next to the SD75F18-1 near the top of the skin, attempting to just drill out these holes through the skin, with a #30 drill for A4 rivets, with the SD75F18-4 angle in place will probably result in enlarged holes and best practices would dictate drilling these out to A5 rivets, at least, but again one still has to be extremely careful not to end up with oblong or deformed holes.
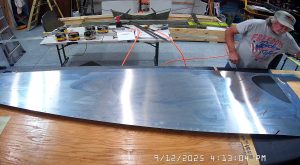
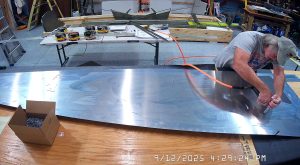
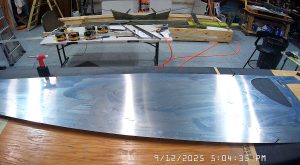
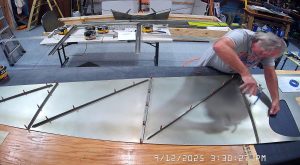
After taking care of these production errors, I completed riveting the verticals and diagonals to the skin from the SD75F18-1 back to the SD75F18-8.