DATE: 10-31-2025 – TIME: 3:59 – 5:43 ~ 1:45
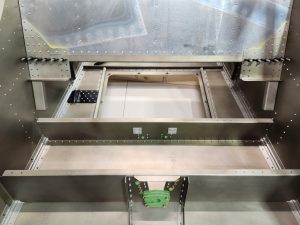
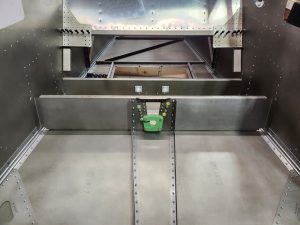
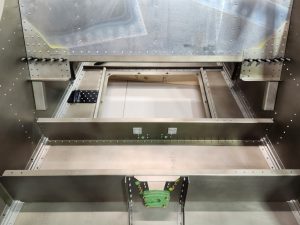
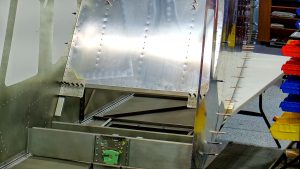
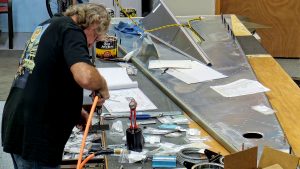
With not much time available today I clecod the linear acuator in place and then riveted the front and rear jump seat channels into place.
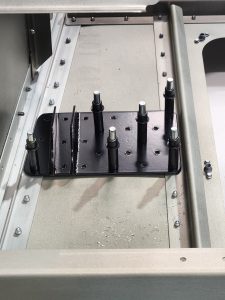
I had my linear actuator, LS75C1-1, powder coated so I used a #21 drill bit to clean out the rivet holes prior to clecoing it in place.
As my side skins were also already clecod to the fuselage bottom I couldn’t just turn the fuselage bottom over for riveting so I had to move my tables around so that I could do the riveting from the underside. Not much of a big deal really.
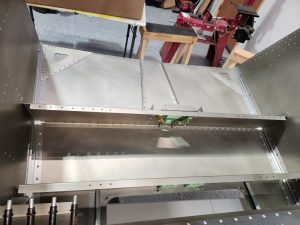
I should note here that the IPL file is very confusing. It refers to the rear jump seat channel as having side flanges, which it does not. The front jump seat channel has flanges that are bent toward the front of the aircraft. Also, while they line up with holes pre-drilled in the side skins, they themselves are not drilled. The holes are A5 rivets, #21 drill bit. It’s best to draw a line down these flanges, if they are not drilled, prior to clecoing / riveting the front jump seat channel to the bottom fuselage skin as that way you can line up the centre line you drew on the flange with the centre of the holes in the fuselage.
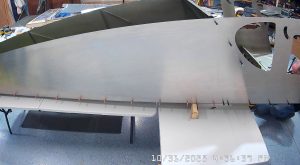
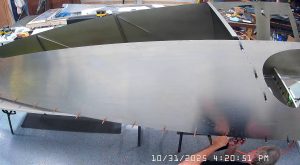
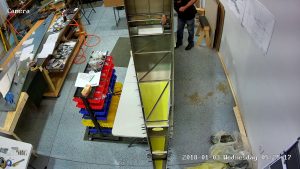
My cameras were not well suited for taking snapshots of the process here but here are some pics. They are all high res so zooming should be helpful.