
DATE: 11-03-2025 – TIME: 03:05 – 04:00 ~ 1:00
There isn’t a lot to do on page FR-08 except for assembling the SD75F30-1 cockpit harness mount channels with the front and back brackets and them rivet them in place. Sadly, the IPL sheet FR-08 is confusing and the drawing is incomplete.
The IPL and drawing seem to indicate that the C75F3-5 cockpit shoulder harness attachments and the jump seat shoulder harness, SD75F31-8, should be clecod in place, at the very least. Given that both top skin longerons need to go between the harness brackets and the outer skins I figured it’s easier to leave the brackets off until the top skin is in place. Additionally, the IPL says:
AN5-5A – Comment: insert the bolt in the shoulder harness before the part is clecoed to the fuselage.
Unfortunately, there are no AN5-5A bolts on the inventory lists provided with the fuselage kit nor the controls kit and there were none provided. Roger at Zenith said the specifications on the drawings take precedence, unfortunately there are no specifications for the bolts on the drawing. I have 8 * AN5-6A bolts that came with the controls kit but given that the harness brackets are not part of the controls kit I figure they are for something else. Frankly, I find this extremely frustrating.
My SD75F30-1, cockpit harness mount channels, came without holes drilled for the rear channel attach brackets so they needed to be drilled out with a #21 (A5) drill. The mount channels themselves have a row of A3 size holes in each of the flanges to be riveted to the top skin. The top skin is drilled A5, so these holes need to be drilled out too. The forward channel attach brackets, SD75F30-3, need to be riveted to the C75F3-4, rear top channel, on page FR-02 which is also not drilled, A5, for the brackets. No measurements are provided for proper alignment of the SD75F30-3, nor instructions, so in order to make sure I had them properly aligned I did not drill the SD75F3-4 and opted to wait until I had clecod the top skin in place. Meantime I did prime the front of the baggage back with zinc phosphate where the rear attach brackets will be riveted. I should note here also that in my kit the 4 holes in the center of the rear attach brackets are A5 in the bracket and A4 in the baggage back so they have to be drilled out.
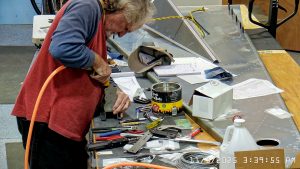
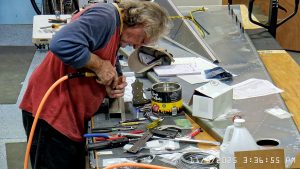
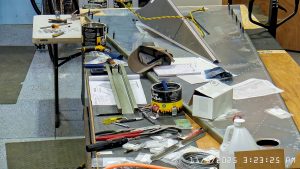
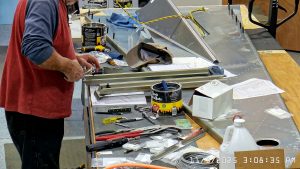
Here are the picks assembling the harness mount channels.
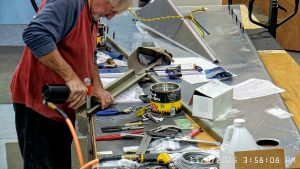
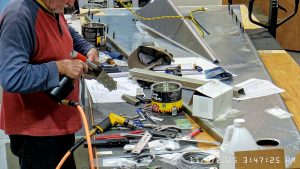
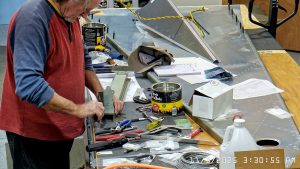
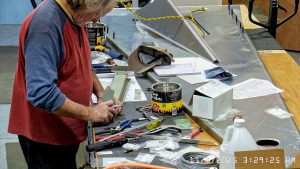

To get the harness mount channel and rear bracket correct I first held both the bracket and the channel against the front of the baggage back to determine whether the bracket should be flush with the back of the channel or inset. It should be flush. I then marked centre lines on both the bracket and the channel and then, holding the bracket in place flush and centred, marked where to drill. I then removed the bracket and drilled a couple of holes and double checked, then drilled the remaining holes.
Then I clamped the second harness mount channel to the one I had drilled and drilled through the first one into the second. I riveted the brackets to the channel and they were in substantial compliance.