DATE: 01-20-2025 – TIME: 10:29 – 11:33 ~ 1:00
My trusty assistant Jared joined me today to continue the process of building the forward fuselage which we began with riveting the steel hinges for the pilot toe brakes and then went on with reassembling the rest of the cabin floor.
Just a couple of photos here of doing the pilot side hinges because there are so many on yesterday’s post and the pilot and passenger side brake assembly is essentially the same.


Which was then followed by removing all of the rudder and brake hardware to go back to the process as it is outlined in the printed diagrams and IPL sheets.
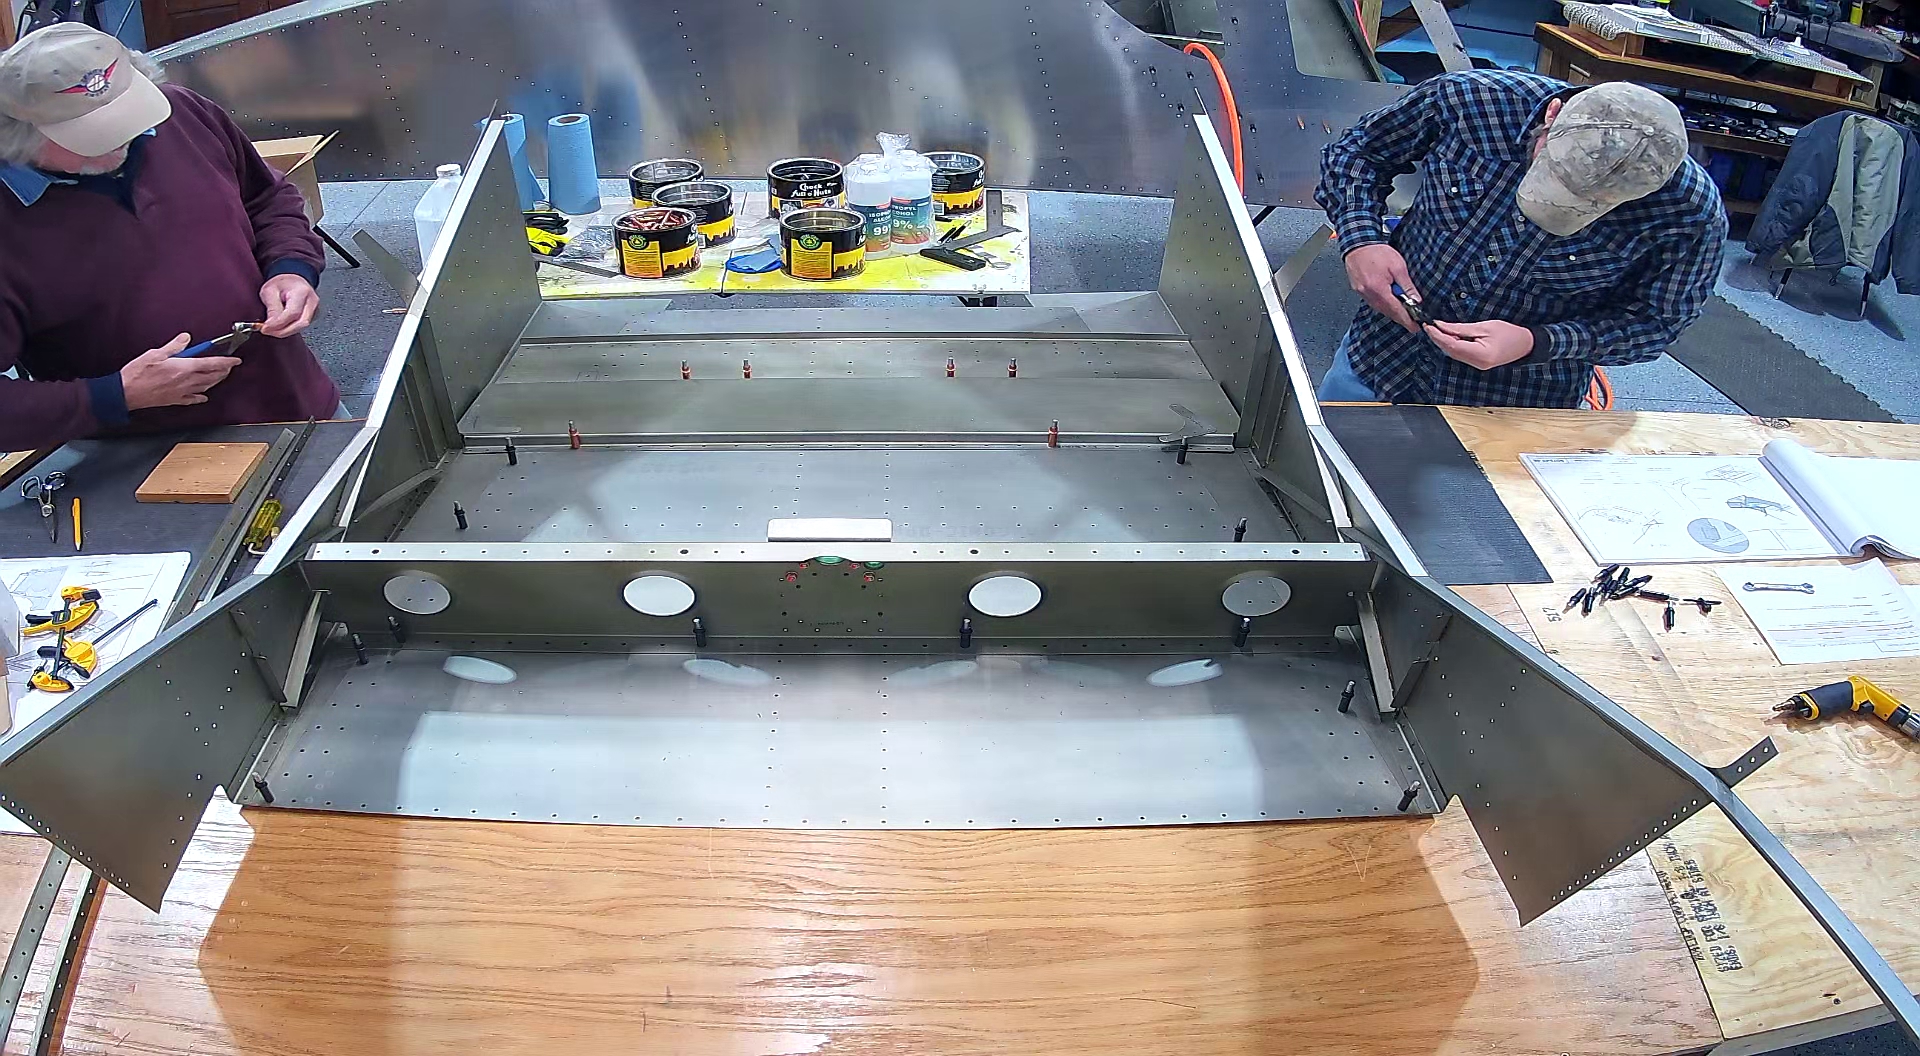
Here are the pics of reassembling the cabin floor, sides, side front, seat channels and rudder channels per page FF-06.
What we did decide was that we would not drill and attach the seat angle extrusion, LS75F7-3, which is supplied as an un-drilled piece of 6061-T6 angle, to the side skin or the seat angle until such time as we had the rear seat channel in place and could properly place the top of the seats. Otherwise there is a risk of ending up with the seat top holes which are supposed to align with the channel, being misplaced. It’s not a big deal as the extrusions are easy enough to attach any time before riveting the seat tops in place.
At this point we are just clecoing everything in place and holding off riveting. You will see in the photos in this slider that after putting the sides in place we removed them again. This was to facilitate drilling and riveting the LS75F40-10, heel support gusset, to the side angle. I felt trying to drill it in place would result in severely angled holes and more difficult riveting. It should be noted that the vertical and horizontal holes in the gusset are not symmetrical so double check before you go drilling into the side angle.


That’s about all that was left for FF-06 and FF-07 requires tipping the assembled cabin floor on its side and clecoing the stiffeners to the cabin bottom.